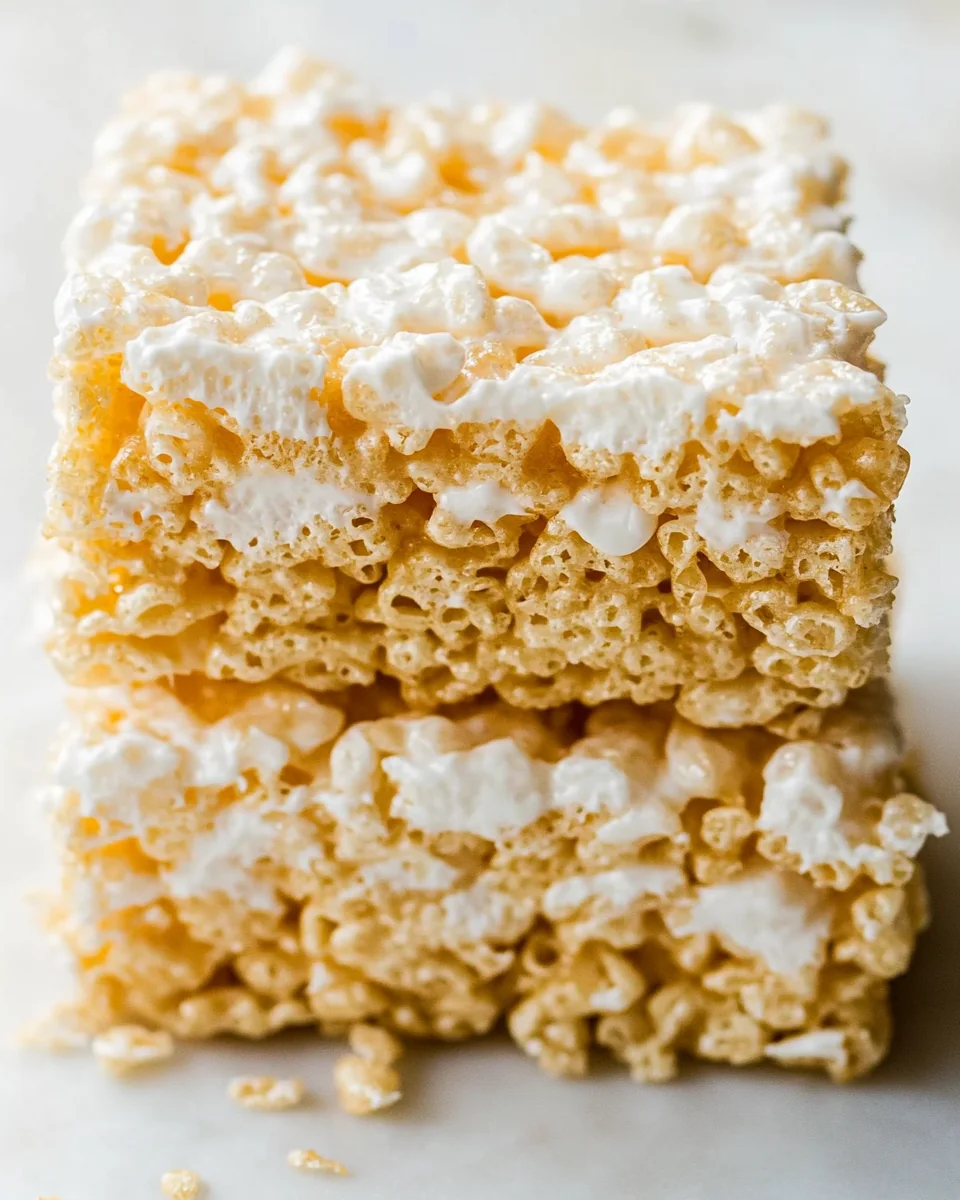
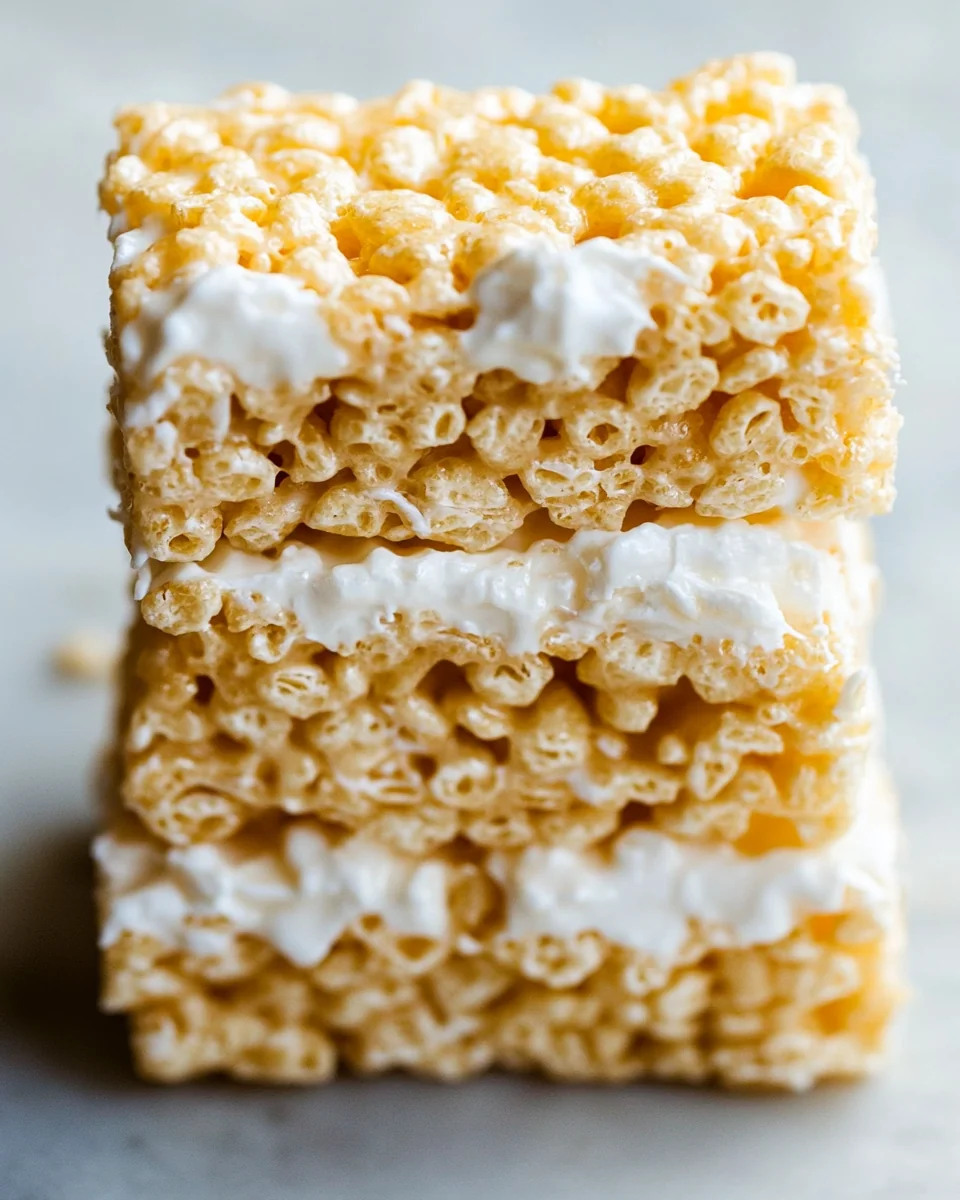
Classic Homemade Rice Krispie Treats
Classic Homemade Rice Krispie Treats are a beloved snack that perfectly combines sweetness and crunch. These treats have a unique texture that is both chewy and crispy, making them irresistible to both kids and adults. They are perfect for a variety of occasions, whether it’s a family gathering, a school event, or simply an afternoon snack at home. The delightful flavor of buttery sweetness mingles with the crispness of rice cereal, creating a nostalgic treat that many people grew up enjoying. With their simple preparation and minimal ingredients, Classic Homemade Rice Krispie Treats are an ideal choice for busy weeknights or as a fun project to make with children. The ease of making these treats ensures that they are accessible to everyone, regardless of cooking skill level.
Why You’ll Love This Recipe?
There are several reasons why Classic Homemade Rice Krispie Treats stand out in the world of snacks. Firstly, their taste is undeniably appealing. The combination of buttery flavor and the sweetness of the cereal creates a taste that is hard to resist. Secondly, the recipe is incredibly easy to follow. With just a few simple steps, anyone can whip up a batch in no time. This makes it a fantastic choice for beginners who may not have much experience in the kitchen. Furthermore, the texture of these treats is a perfect balance of chewy and crispy. The way they melt in your mouth creates a satisfying eating experience. Lastly, their versatility is remarkable; you can enjoy them as is or customize them with various mix-ins or toppings, allowing for endless variations that keep things exciting. These qualities make Classic Homemade Rice Krispie Treats a favorite for all ages.
Ingredients :
To create the perfect batch of Classic Homemade Rice Krispie Treats, you will need the following ingredients:
- Rice Cereal : The foundation of your treats, this cereal brings the characteristic crunch and texture. You will need approximately 6 cups of Rice Krispies, which will provide the necessary volume and that delightful snap that makes these treats so enjoyable.
- Butter : About 3 tablespoons of unsalted butter will be used to add richness and flavor to the treats. The butter melts down to coat the cereal, helping to bind everything together while also imparting a delicious buttery taste.
- Mini Marshmallows : You will require about 10 ounces of mini marshmallows for sweetness and texture. They melt down beautifully, creating a sticky mixture that holds the cereal together and gives the treats their signature taste.
- Salt : A pinch of salt is essential to balance the sweetness of the marshmallows. It enhances the overall flavor of the treats, ensuring that they are not overly sweet and have a well-rounded taste.
Step by Step :
Follow these detailed instructions to create your Classic Homemade Rice Krispie Treats.
- Begin by preparing your workspace. Gather all your ingredients and tools, including a large mixing bowl, a spatula, and a greased 9×13-inch baking pan. This will streamline the process and make it easier to follow along.
- In a large saucepan, melt the butter over low heat. Stir it constantly to ensure it doesn’t brown; you want it just melted and warmed.
- Once the butter is fully melted, add the mini marshmallows to the saucepan. Continue to stir the mixture over low heat until the marshmallows are completely melted and smooth. This may take a few minutes, but be patient and keep stirring to avoid any lumps.
- Once the marshmallows have melted, remove the saucepan from heat. You can add a pinch of salt at this stage, stirring it in to enhance the flavor.
- Gradually add the Rice Krispies cereal to the marshmallow mixture. Use your spatula to fold the cereal into the melted mixture gently. Ensure all the cereal is coated evenly, but be careful not to crush the cereal.
- Once the cereal is well mixed, transfer the mixture to your greased baking pan. Use the spatula to press the mixture down firmly and evenly. Make sure to compact it, as this will help the treats hold their shape once cooled.
- Allow the treats to cool at room temperature for about 30 minutes. This will help them set properly, making it easier to cut them into squares later on.
- Once the treats have cooled and set, use a sharp knife to cut them into squares or rectangles. You can make them as small or large as you prefer!
- Serve your Classic Homemade Rice Krispie Treats immediately or store them in an airtight container for later enjoyment. They should stay fresh for several days.
Tips for Variations:
Here are some creative ways to elevate your Classic Homemade Rice Krispie Treats:
- For a chocolatey twist, consider adding cocoa powder to the marshmallow mixture or folding in chocolate chips once the mixture has cooled slightly. This will provide a rich flavor and make your treats even more indulgent.
- Add colorful sprinkles to the cereal mixture for a fun and festive appearance, perfect for birthday parties or celebrations. This simple addition can brighten up your treats and make them visually appealing.
- Incorporate peanut butter into the melted marshmallows for a delicious nutty flavor. Using about half a cup of smooth peanut butter will create a creamy texture that complements the other ingredients beautifully.
- Try adding dried fruits, such as cranberries or apricots, for a chewy texture and a bit of tartness. This can add a new dimension to the flavor profile while still keeping the treat enjoyable.
- For a gourmet touch, drizzle melted chocolate over the top of your treats once they have cooled. This adds an elegant finish and an extra layer of flavor that chocolate lovers will adore.
Serving Suggestions:
When it comes to serving your Classic Homemade Rice Krispie Treats, there are many delightful options:
- Serve them as a fun after-school snack, paired with a glass of milk or a warm cup of cocoa for a cozy treat that kids will love.
- These treats are also perfect for potlucks or picnics. Cut them into bite-sized squares for easy sharing, making them a crowd-pleaser that everyone will enjoy.
- During special occasions, such as birthdays or holidays, consider decorating the treats with themed colors or shapes to match the celebration.
- Store any leftovers in an airtight container at room temperature. They are best enjoyed fresh but can last for several days, making them great for on-the-go snacks.
- These treats can be enjoyed year-round, but they are especially delightful during festive seasons, where their sweet flavor complements other holiday goodies.
FAQ:
How do I store leftovers?
To store leftovers of your Classic Homemade Rice Krispie Treats, place them in an airtight container at room temperature. They will remain fresh for about 3-5 days. Avoid refrigerating them, as this can cause them to become hard and lose their delightful texture.
Can I freeze this recipe?
Yes, you can freeze Classic Homemade Rice Krispie Treats. Wrap them tightly in plastic wrap or aluminum foil and place them in a freezer-safe container. They can be stored in the freezer for up to 2 months. When ready to enjoy, let them thaw at room temperature for a few hours.
Can I use regular marshmallows instead of mini marshmallows?
Yes, you can use regular marshmallows in place of mini marshmallows. Just remember to use the same weight, approximately 10 ounces, and cut them into smaller pieces to ensure they melt evenly.
How do I make these treats less sweet?
To reduce the sweetness of your Classic Homemade Rice Krispie Treats, consider using less marshmallow. You can also add a bit more salt to balance the sweetness and enhance the overall flavor.
Can I add flavorings to the treats?
Absolutely! You can add flavorings such as almond extract or coconut extract to the melted marshmallows for an additional layer of flavor. Just a teaspoon will do the trick, enhancing your Classic Homemade Rice Krispie Treats without overpowering them.
Classic Homemade Rice Krispie Treats
Equipment
- Large Mixing Bowl
- Saucepan
- Spatula
- 9x13-inch Baking Pan
Ingredients
Ingredients
- 6 cups Rice Krispies The foundation of your treats, providing crunch and texture.
- 3 tablespoons Unsalted Butter Adds richness and flavor to the treats.
- 10 ounces Mini Marshmallows Provides sweetness and texture, melting down to hold the cereal together.
- 1 pinch Salt Enhances the overall flavor and balances sweetness.
Instructions
- Begin by preparing your workspace. Gather all your ingredients and tools, including a large mixing bowl, a spatula, and a greased 9x13-inch baking pan.
- In a large saucepan, melt the butter over low heat, stirring constantly to avoid browning.
- Once melted, add the mini marshmallows to the saucepan and stir until completely melted and smooth.
- Remove from heat and stir in a pinch of salt.
- Gradually add the Rice Krispies cereal to the marshmallow mixture, folding gently to coat without crushing the cereal.
- Transfer the mixture to the greased baking pan and press down firmly and evenly.
- Allow the treats to cool at room temperature for about 30 minutes.
- Once cooled, cut into squares or rectangles and serve immediately or store in an airtight container.