Homemade Chocolate Ice Cream
Homemade Chocolate Ice Cream is a timeless treat that brings joy to any occasion. With its rich, creamy texture and indulgent chocolate flavor, this ice cream is a delightful way to cool off on a hot day or satisfy a sweet tooth. Unlike store-bought varieties, making chocolate ice cream at home allows you to control the quality of ingredients, ensuring a fresher and more intense chocolate experience. The process may seem intimidating, but with a few simple steps, you can create a batch that rivals your favorite ice cream parlor. The satisfaction of scooping out your own homemade creation is unparalleled, making it a rewarding endeavor for both novice and experienced cooks alike. This recipe will guide you through crafting a delightful chocolate ice cream that is smooth, creamy, and bursting with flavor. You’ll also learn about different techniques to elevate your ice cream-making skills and explore various serving suggestions to impress your family and friends. So grab your ice cream maker, and let’s dive into the world of homemade chocolate ice cream!
Why You’ll Love This Recipe:
There are numerous reasons to fall in love with this homemade chocolate ice cream recipe. First and foremost is the taste. The combination of high-quality cocoa powder and chocolate creates a rich and indulgent flavor profile that is simply irresistible. You can customize the intensity of the chocolate to suit your personal preference, ensuring that every scoop is just to your liking.
Another reason to appreciate this recipe is the simplicity of its preparation. With just a handful of ingredients, you can whip up a batch of chocolate ice cream in no time. The process is straightforward and requires minimal kitchen equipment, making it accessible even for beginners.
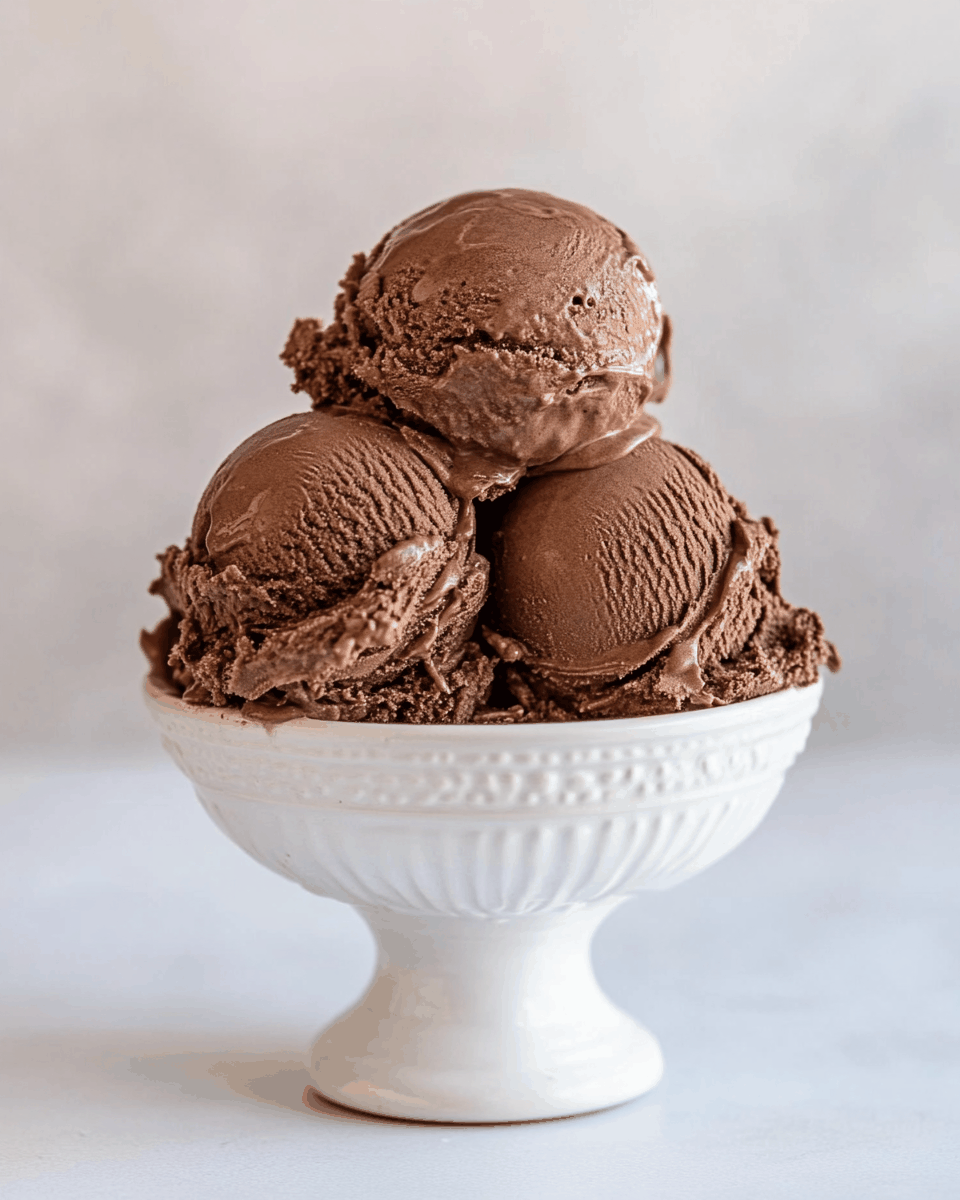
Finally, the appearance of your homemade chocolate ice cream is sure to impress. The velvety texture and deep, dark color are visually appealing, making it an elegant dessert for gatherings or special occasions. Whether served in a cone, bowl, or sundae-style, this ice cream will be a showstopper at any dessert table.
Ingredients:
To create your delicious homemade chocolate ice cream, you will need the following ingredients:
- 2 cups heavy cream: This is the base of your ice cream, contributing to its rich and creamy texture. Heavy cream has a high fat content, which is essential for achieving that smooth mouthfeel.
- 1 cup whole milk: Whole milk adds additional creaminess and a slight sweetness to the ice cream. It balances the richness of the heavy cream while providing a lighter texture.
- 3/4 cup granulated sugar: This ingredient sweetens your ice cream and enhances the overall flavor. You can adjust the amount to your taste, but this measurement offers a good balance.
- 1 cup unsweetened cocoa powder: The star of the show, cocoa powder gives your ice cream its rich chocolate flavor. Opt for high-quality cocoa for the best results, as it will significantly impact the taste.
- 1 teaspoon pure vanilla extract: While it’s primarily a chocolate ice cream, a touch of vanilla enhances the overall flavor profile, making it more complex and enjoyable.
- 1/2 cup chocolate chips (optional): For added texture and bursts of chocolate flavor, consider folding in chocolate chips before freezing. They provide a delightful contrast to the creamy base.
- Pinch of salt: A small amount of salt enhances the sweetness and balances the flavors, making your chocolate ice cream taste even more delicious.
With these ingredients on hand, you are well on your way to creating a rich and creamy chocolate ice cream that will be the highlight of any dessert spread. Make sure to choose high-quality ingredients for the best results, as they will directly influence the flavor and texture of your final product.
How To Make Homemade Chocolate Ice Cream?
Making homemade chocolate ice cream is a fun and rewarding process. Follow these detailed steps to create your own creamy delight:
- Prepare the base: In a medium saucepan, combine the heavy cream, whole milk, granulated sugar, cocoa powder, and a pinch of salt. Whisk the mixture over medium heat until the sugar and cocoa powder are completely dissolved. Be careful not to let it boil; you want it just hot enough to dissolve the ingredients.
- Incorporate vanilla: Once the mixture is smooth and well-combined, remove it from heat and stir in the vanilla extract. Allow the mixture to cool slightly for about 10-15 minutes.
- Chill the mixture: To achieve a creamy texture, it’s essential to chill the base before churning. Transfer the mixture to a bowl and cover it with plastic wrap. Refrigerate for at least 2-4 hours or overnight for the best results.
- Churn the ice cream: Once the base is thoroughly chilled, pour it into your ice cream maker. Follow the manufacturer’s instructions for churning. Typically, this process will take about 20-25 minutes until the mixture reaches a soft-serve consistency.
- Add chocolate chips (optional): If you’re using chocolate chips, fold them into the ice cream during the last few minutes of churning. This step ensures they are evenly distributed throughout the ice cream.
- Transfer to a container: Once the ice cream has reached the desired consistency, transfer it to an airtight container. Smooth the top with a spatula to minimize air exposure, which can cause ice crystals to form.
- Freeze to set: Place the container in the freezer for at least 4 hours or until the ice cream is firm. For optimal results, let it freeze overnight before serving.
- Serve and enjoy: When you’re ready to indulge, scoop out the ice cream into bowls or cones. Let it sit for a few minutes to soften slightly, which makes scooping easier. Enjoy your homemade chocolate ice cream!
With these simple steps, you’ll have a delicious batch of homemade chocolate ice cream ready to enjoy. The process is straightforward, and the end result is a creamy, rich dessert that’s perfect for any occasion.
Tips For Variations:
While the classic chocolate ice cream is a favorite for many, there are countless ways to customize your creation. Here are some unique variations and ideas to explore:
- Chocolate Mint Ice Cream: Add a few drops of peppermint extract to the base before churning. This addition creates a refreshing twist that pairs beautifully with chocolate.
- Spicy Chocolate Ice Cream: For those who enjoy a kick, consider adding a pinch of cayenne pepper or chili powder to the mixture. The heat will complement the rich chocolate flavor and add an unexpected depth.
- Nutty Chocolate Ice Cream: Incorporate chopped nuts, such as almonds or hazelnuts, into the ice cream during the last few minutes of churning. This will add a delightful crunch and nutty flavor.
- Mocha Chocolate Ice Cream: Mix in a tablespoon of instant coffee or espresso powder to the base for a mocha flavor. The coffee enhances the chocolate and adds a sophisticated touch.
- Chocolate Swirl Ice Cream: Swirl in a chocolate fudge or caramel sauce into the ice cream just before transferring it to the container. This creates beautiful ribbons of flavor throughout the ice cream.
- Vegan Chocolate Ice Cream: Substitute the heavy cream and whole milk with coconut milk or any plant-based milk of your choice. This variation is perfect for those looking for dairy-free options.
- Budget-Friendly Options: If you’re looking to save on ingredients, consider using cocoa powder instead of chocolate bars, as it’s typically less expensive. You can also reduce the sugar slightly without compromising the flavor.
Feel free to get creative with these suggestions, mixing and matching flavors to create your own signature chocolate ice cream. The possibilities are endless, making this recipe a versatile base for your culinary imagination.
Serving Suggestions:

Serving homemade chocolate ice cream can be as creative and fun as making it. Here are some ideas to elevate your serving experience:
- Classic Cones: Serve scoops of chocolate ice cream in waffle cones for a nostalgic treat. You can drizzle chocolate or caramel sauce over the top for added flair.
- Chocolate Sundae: Create a decadent sundae by layering chocolate ice cream with whipped cream, sprinkles, and a cherry on top. You can also add crushed nuts or a drizzle of chocolate sauce to enhance the indulgence.
- Chocolate Ice Cream Cake: Use the chocolate ice cream as a filling in a cake. Layer ice cream between chocolate cake layers for a stunning dessert that’s perfect for birthdays or celebrations.
- Affogato: Serve a scoop of chocolate ice cream with a shot of hot espresso poured over it for a delightful dessert that combines hot and cold elements.
- Milkshake: Blend chocolate ice cream with milk to create a rich and creamy milkshake. Top it with whipped cream and a sprinkle of cocoa powder for a delicious treat.
- Chocolate Ice Cream Sandwiches: Take two cookies (chocolate chip or any of your choice) and sandwich a scoop of chocolate ice cream in between for a delightful handheld dessert.
- Fruit Pairings: Serve chocolate ice cream with fresh fruits like strawberries or bananas for a refreshing contrast to the richness of the ice cream.
These serving suggestions not only enhance the experience but also allow you to impress your guests with a variety of options. Whether you’re hosting a gathering or simply treating yourself, presenting your homemade chocolate ice cream in style will surely delight everyone involved.
FAQ:
How long does homemade chocolate ice cream last in the freezer?
Homemade chocolate ice cream can last in the freezer for about 2-3 weeks if stored properly in an airtight container. To maintain its quality, make sure to minimize air exposure.
Can I make chocolate ice cream without an ice cream maker?
Yes, you can make chocolate ice cream without an ice cream maker. Pour the chilled mixture into a shallow dish and freeze it. Stir every 30 minutes for about 2-3 hours until it reaches a creamy consistency.
What can I use instead of cocoa powder for a different flavor?
If you’re looking for a different flavor, consider using carob powder or melted dark chocolate. However, the texture and sweetness may vary, so adjustments might be necessary.
Can I add mix-ins like cookies or candy?
Absolutely! You can fold in your favorite mix-ins, such as crushed cookies, candy bars, or nuts, during the last few minutes of churning for added texture and flavor.
How can I make my ice cream creamier?
To achieve a creamier texture, ensure that your mixture is well-chilled before churning. Additionally, using higher fat content in your creams will contribute to a smoother consistency.

Homemade Chocolate Ice Cream
Equipment
- Medium saucepan
- Ice Cream Maker
- Mixing Bowl
- Spatula
Ingredients
Ingredients
- 2 cups heavy cream This is the base of your ice cream, contributing to its rich and creamy texture.
- 1 cup whole milk Adds additional creaminess and a slight sweetness.
- 3/4 cup granulated sugar Sweetens the ice cream and enhances the overall flavor.
- 1 cup unsweetened cocoa powder Gives your ice cream its rich chocolate flavor.
- 1 teaspoon pure vanilla extract Enhances the overall flavor profile.
- 1/2 cup chocolate chips Optional for added texture and bursts of chocolate flavor.
- 1 pinch salt Enhances sweetness and balances flavors.
Instructions
- In a medium saucepan, combine the heavy cream, whole milk, granulated sugar, cocoa powder, and a pinch of salt. Whisk over medium heat until dissolved.
- Remove from heat and stir in the vanilla extract. Allow to cool for 10-15 minutes.
- Transfer the mixture to a bowl, cover with plastic wrap, and refrigerate for at least 2-4 hours or overnight.
- Pour the chilled mixture into your ice cream maker and churn according to the manufacturer's instructions (about 20-25 minutes).
- If using chocolate chips, fold them in during the last few minutes of churning.
- Transfer the ice cream to an airtight container and smooth the top with a spatula.
- Freeze for at least 4 hours or until firm, preferably overnight.
- Scoop into bowls or cones and enjoy!