Tuna Melt
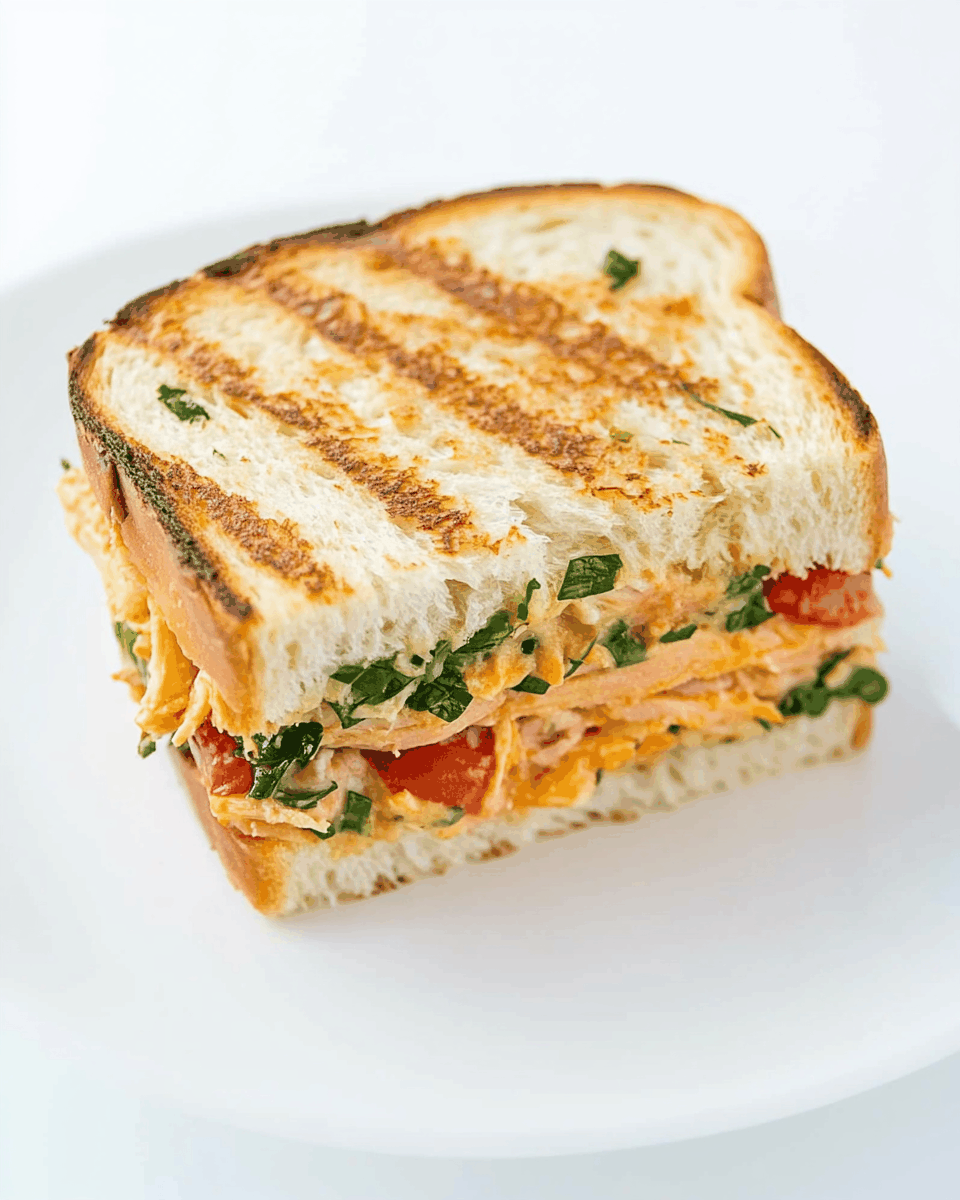
Tuna Melt is a classic comfort food that has earned its place in the hearts of many. This simple yet satisfying dish features a creamy tuna salad mixture layered between slices of bread, topped with gooey cheese, and then toasted to perfection. Originating from the American diner scene, Tuna Melt has transcended its humble beginnings to become a beloved staple in home kitchens across the globe. With its combination of flaky tuna, zesty ingredients, and melty cheese, it offers a symphony of flavors and textures that are hard to resist. The beauty of this dish lies not just in its taste, but also in its versatility; you can customize it to suit your preferences, making it a great choice for a quick lunch or a comforting dinner. Whether you enjoy it as a classic version or with unique twists, Tuna Melt is sure to satisfy your cravings while remaining easy to prepare. Let’s dive into the details of this scrumptious recipe that will soon become a favorite in your household.
Why You’ll Love This Recipe?
There are numerous reasons why Tuna Melt stands out as a fantastic meal option. First and foremost is its remarkable taste. The combination of tender tuna, creamy mayonnaise, and melted cheese creates a rich, savory flavor profile that is both comforting and satisfying. This dish can be easily tailored to your taste preferences, allowing you to experiment with different ingredients and levels of seasoning.
Secondly, the preparation of Tuna Melt is incredibly straightforward, making it an ideal choice for busy weeknights or lazy weekends. With minimal cooking skills required, you can whip up this dish in under 30 minutes, making it a perfect solution for those unexpected hunger pangs.
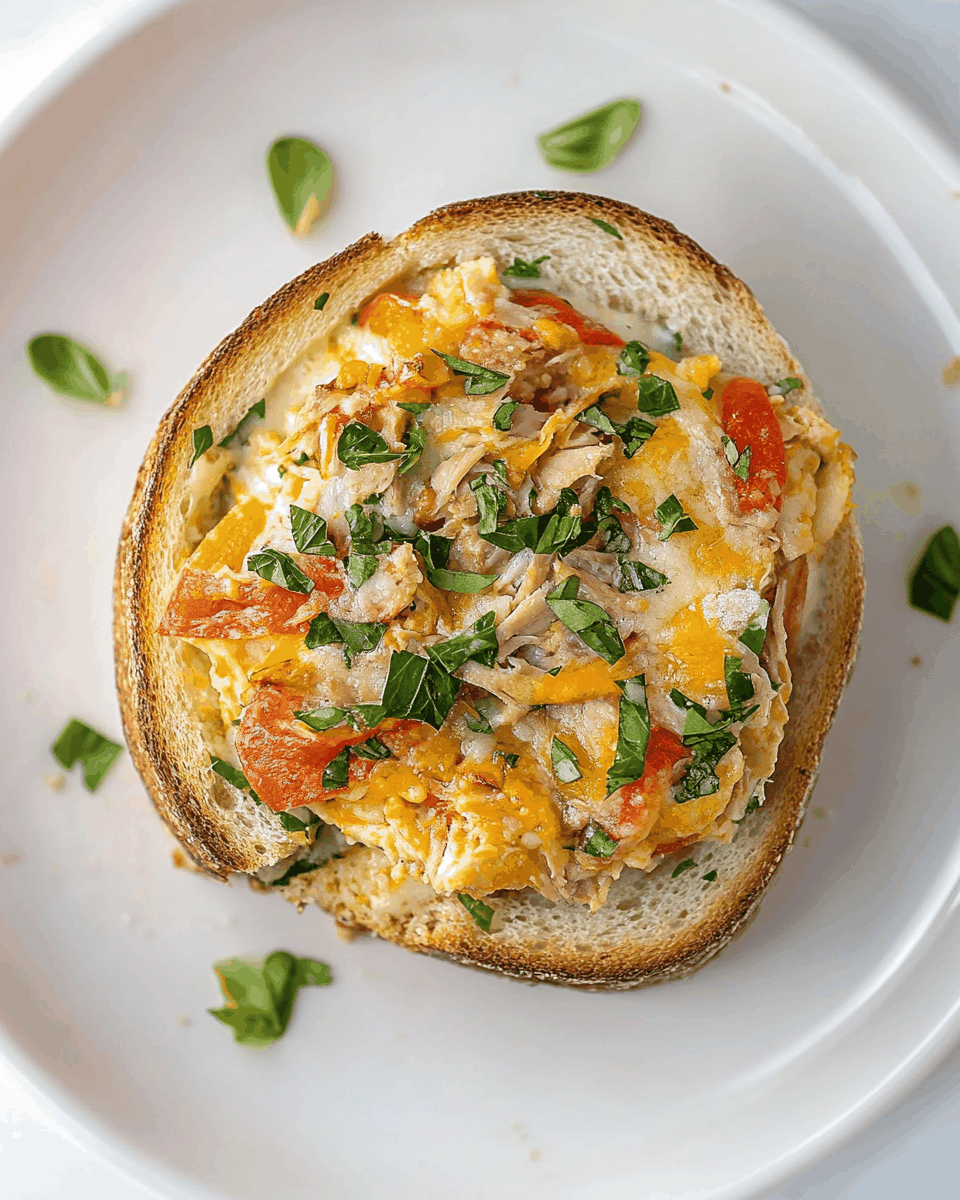
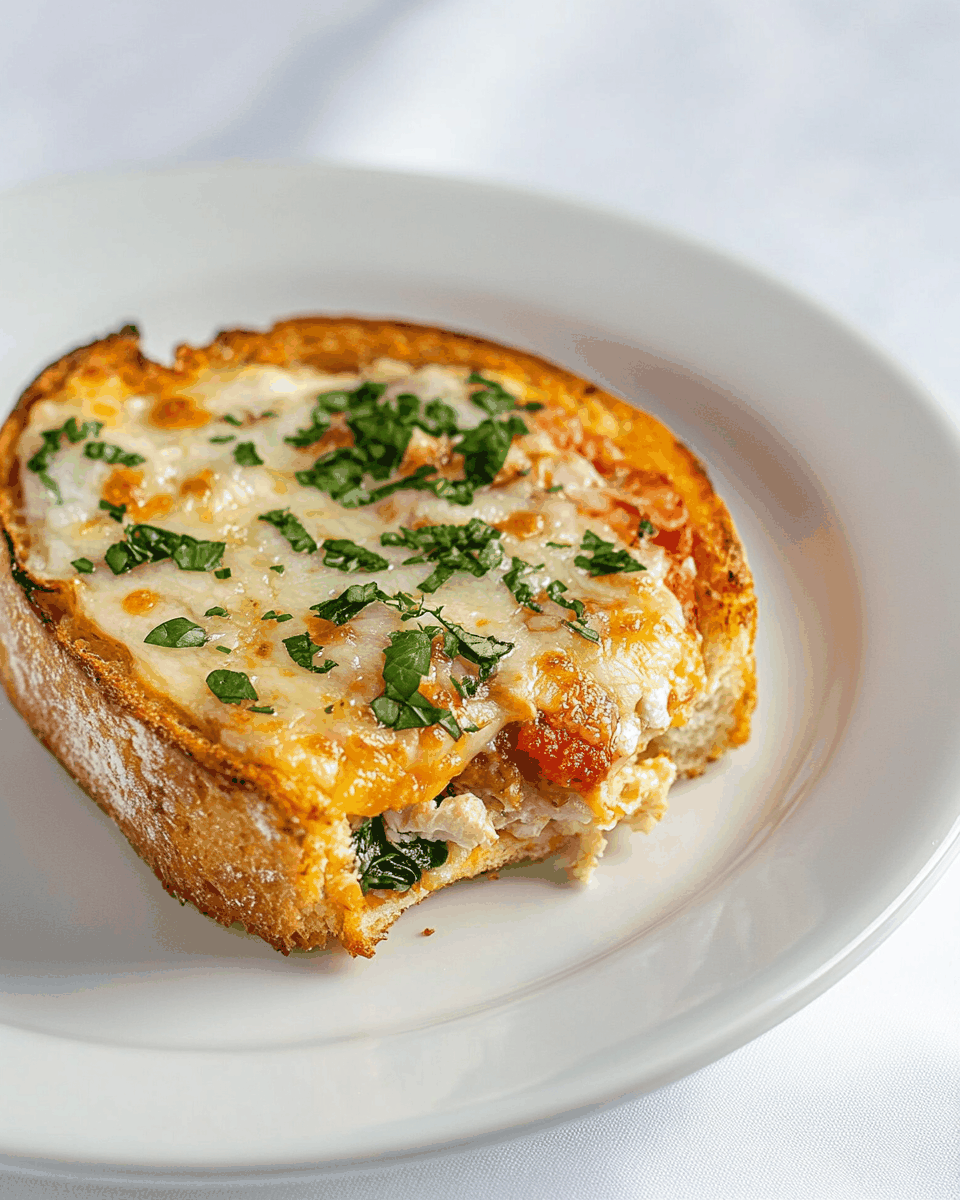
Lastly, the visual appeal of a Tuna Melt is undeniable. The golden-brown crust, bubbling cheese, and inviting filling make it a feast for the eyes. Whether served open-faced or as a sandwich, this dish is sure to impress anyone at your dining table. With its combination of taste, ease of preparation, and visual appeal, Tuna Melt is a culinary winner that you will want to make time and time again.
Ingredients:

To create a delicious Tuna Melt, you’ll need the following ingredients, carefully selected to enhance flavor and texture. Below is a comprehensive list along with measurements and descriptions to help you gather what you need for this delightful dish:
- 2 cans of tuna (5 oz each): Choose chunk light or solid white tuna, packed in water or oil, depending on your preference. This will be the star of your dish, providing the flaky texture and rich flavor.
- 1/4 cup mayonnaise: This creamy ingredient binds the tuna together and adds moisture. You can use regular or light mayonnaise based on your taste.
- 1 tablespoon Dijon mustard: For a hint of tanginess, Dijon mustard complements the tuna beautifully. It adds a layer of flavor that elevates the dish.
- 1/4 cup finely chopped celery: Celery brings a satisfying crunch to your Tuna Melt. Its fresh flavor balances out the richness of the mayo and tuna.
- 2 tablespoons finely chopped red onion: The onion adds a bit of sharpness and depth to the mixture. You can adjust the amount based on your preference for onion flavor.
- Salt and pepper to taste: Essential seasonings that enhance all the flavors in your Tuna Melt. Be sure to taste as you go to achieve the perfect seasoning.
- 4 slices of bread: Choose your favorite type of bread, whether it’s sourdough, whole wheat, or rye. The bread should be sturdy enough to hold up to the filling.
- 1 cup shredded cheese: A classic choice is cheddar cheese, but feel free to experiment with varieties like Swiss or Monterey Jack for different flavor profiles.
- Butter or olive oil for grilling: This is used for toasting the bread to achieve a golden-brown crust. It adds extra flavor and richness to the dish.
Gathering these ingredients will set you up for success as you embark on making your Tuna Melt. Each component plays a vital role in creating a balanced and flavorful dish that is sure to impress.
How To Make Tuna Melt?
Now that you have all your ingredients ready, let’s walk through the step-by-step process of creating a mouthwatering Tuna Melt. Follow these instructions carefully to ensure your dish turns out perfectly every time.
- Prepare the Tuna Salad: Start by draining the canned tuna thoroughly to remove excess moisture. Transfer the tuna to a mixing bowl and flake it with a fork. Add in the mayonnaise, Dijon mustard, chopped celery, and chopped red onion. Season with salt and pepper to taste. Mix all the ingredients until well combined, ensuring that the tuna is evenly coated with the creamy mixture.
- Preheat Your Pan: Place a skillet or griddle over medium heat and allow it to warm up. If you prefer a crispy exterior, add a tablespoon of butter or a drizzle of olive oil to the pan, allowing it to melt and coat the surface.
- Assemble the Sandwiches: Take two slices of bread and spread a generous amount of the tuna mixture on one slice. Top it with a handful of shredded cheese, followed by another slice of bread to create a sandwich. Repeat this process with the remaining slices and tuna mixture.
- Grill the Sandwiches: Place the assembled sandwiches in the preheated skillet. Cook for 3 to 4 minutes, or until the bottom is golden brown and crispy. Carefully flip the sandwiches using a spatula and grill the other side for an additional 3 to 4 minutes, adding more butter or oil if necessary. You want the cheese to melt and the bread to be perfectly toasted.
- Check for Doneness: After both sides are golden and crispy, remove the sandwiches from the skillet. Allow them to rest for a minute before slicing them in half, which will make them easier to handle and allow the cheese to settle slightly.
- Serve: Serve your Tuna Melts warm, garnished with additional chopped celery or a sprinkle of herbs if desired. Pair them with a side of pickles or a fresh salad for a complete meal.
Following these steps will lead you to a perfectly crafted Tuna Melt that is both satisfying and delicious. The combination of flavors and textures will have you reaching for seconds!
Tips For Variations:
Tuna Melt is a versatile dish that welcomes creativity. Here are some unique variations and substitutions to enhance flavor, texture, and adapt to budget considerations:
- Cheese Varieties: While cheddar is a classic choice, consider experimenting with different cheeses like pepper jack for a spicy kick, or feta for a Mediterranean twist. Mixing different cheeses can create a more complex flavor profile.
- Add Vegetables: Amp up the nutrition and flavor by adding ingredients like diced bell peppers, chopped olives, or even shredded carrots to the tuna salad mixture. These additions bring a fresh element to the dish.
- Herbs and Spices: Incorporate fresh herbs like dill, parsley, or chives into your tuna mixture for added freshness. A dash of hot sauce or paprika can also elevate the flavor with a hint of heat.
- Different Breads: While traditional white or whole grain bread works well, consider using bagels, pita bread, or even tortillas for a fun twist. Each option offers a unique texture and flavor that can change the experience of your Tuna Melt.
- Open-Faced Tuna Melt: For a different presentation, try making an open-faced version. Simply toast a slice of bread, spread the tuna mixture on top, and then add cheese before broiling it until the cheese is bubbly.
- Budget-Friendly Options: If canned tuna is outside your budget, consider using canned salmon or even chickpeas for a vegetarian-friendly alternative. Both options provide a similar texture and can be mixed with the same ingredients.
These variations not only help to keep things interesting but also allow you to tailor the Tuna Melt to suit your taste preferences and dietary needs. Don’t hesitate to get creative in the kitchen!
Serving Suggestions:
While Tuna Melt is a fantastic dish on its own, here are some creative serving suggestions that can elevate your meal and complement the flavors:
- Pair with a Side Salad: A fresh side salad with mixed greens, cherry tomatoes, and a light vinaigrette can balance the richness of the Tuna Melt. Adding some avocado or nuts can also enhance the texture and flavor.
- Serve with Soup: Tuna Melt pairs beautifully with a warm bowl of tomato soup or a hearty vegetable soup. The combination of the crispy sandwich and warm soup creates a comforting meal.
- Garnish with Pickles: Adding a side of dill pickles or pickled vegetables can provide a crunchy, tangy contrast that complements the creamy tuna filling. This classic pairing enhances the overall experience.
- Rustic Presentation: For a more rustic presentation, consider serving your Tuna Melt on a wooden board alongside an assortment of sliced vegetables, olives, and crackers for a casual, shareable meal.
- Brunch Option: Transform your Tuna Melt into a brunch dish by serving it with a side of scrambled eggs or a light frittata. This combination is not only hearty but also satisfying for any time of day.
These serving suggestions will not only enhance your Tuna Melt but also provide a delightful dining experience for you and your guests. Enjoy the versatility and creativity that comes with this beloved dish!
FAQ:
Can I make Tuna Melt in advance?
Yes, you can prepare the tuna salad mixture a day ahead and store it in the refrigerator. Assemble the sandwiches just before grilling to ensure they remain fresh and tasty.
What type of tuna should I use for Tuna Melt?
You can use either chunk light or solid white tuna, depending on your preference. Both types work well in this recipe and offer different textures.
Can I use different types of cheese in my Tuna Melt?
Absolutely! Feel free to experiment with various cheeses, such as pepper jack, Swiss, or even a blend of your favorites for a unique flavor profile.
Is it possible to make a vegetarian version of Tuna Melt?
Yes, you can substitute the tuna with chickpeas or mashed avocado for a vegetarian alternative. You can follow the same preparation steps for assembling the dish.
How do I store leftovers of Tuna Melt?
Store any leftover Tuna Melt in an airtight container in the refrigerator for up to two days. Reheat in a skillet or toaster oven for the best texture.