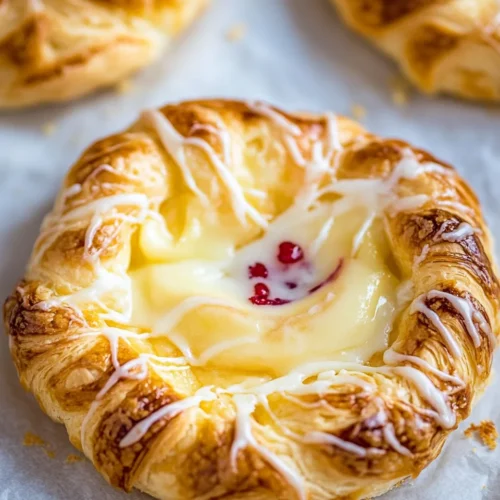
Simple Homemade Cheese Danish Recipe
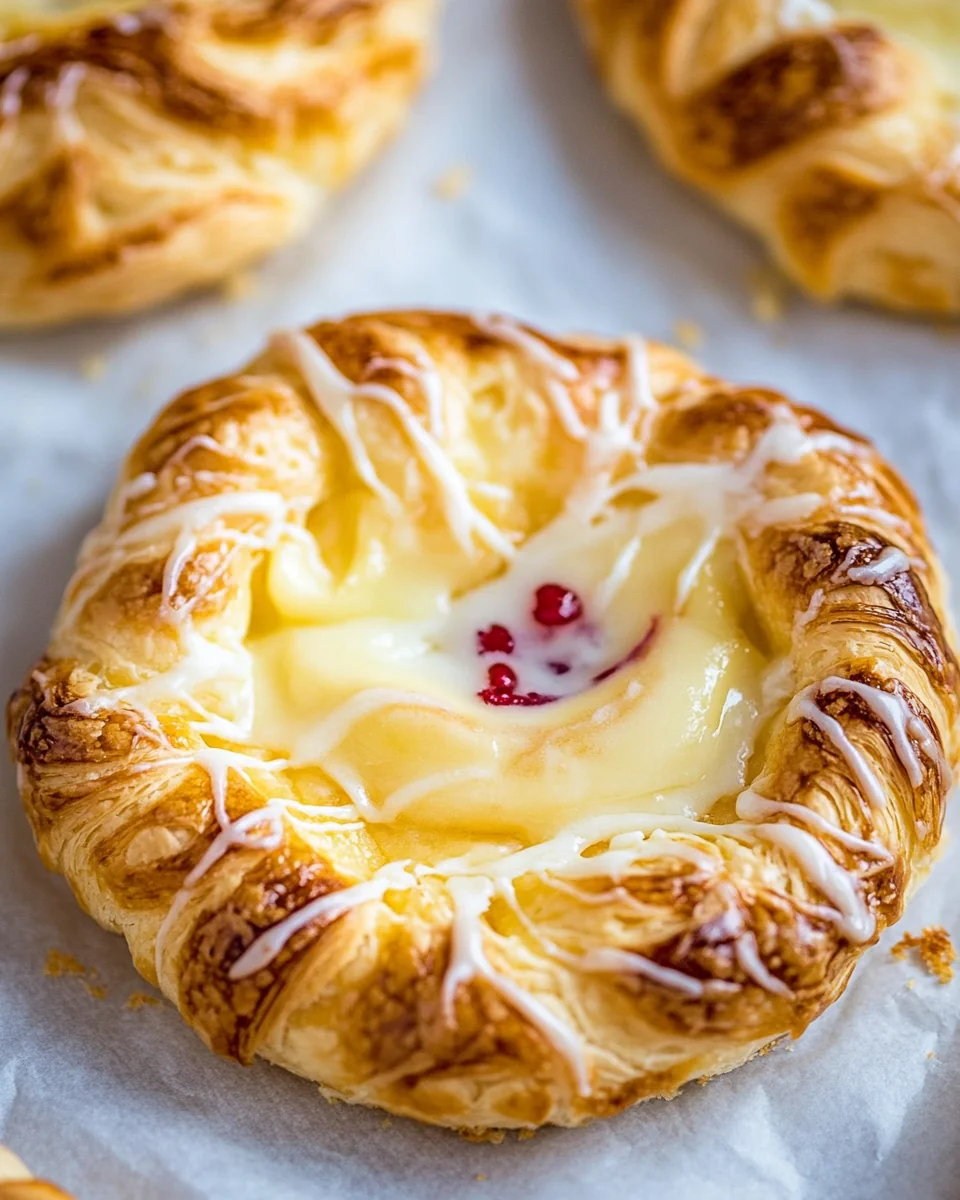
The Simple Homemade Cheese Danish Recipe is a delightful pastry that combines the rich flavors of cream cheese with a flaky, buttery dough. This recipe is perfect for breakfast or a sweet afternoon snack, making it versatile for any occasion. The sweet and tangy filling contrasts beautifully with the crispy exterior, appealing to both children and adults alike. Whether you’re hosting a brunch or simply indulging in a cozy moment at home, this Simple Homemade Cheese Danish Recipe will surely impress your guests and family. Its standout qualities include the simplicity of preparation and the ability to customize flavors, allowing you to experiment and find your favorite version.
Why You’ll Love This Recipe?
This Simple Homemade Cheese Danish Recipe offers multiple reasons to fall in love with it. First, the flavor profile is remarkable; the creamy cheese filling perfectly balances the sweetness of the pastry dough, creating a mouthwatering treat that is hard to resist. The ease of preparation is another standout aspect, as the dough comes together quickly and does not require advanced baking skills. This makes it an ideal choice for beginner bakers or those pressed for time. The texture is yet another reason to appreciate this recipe; the light, flaky crust envelops a rich and creamy filling that melts in your mouth. Lastly, the versatility means you can adjust the filling to match your preferences, whether you want to add fruit, spices, or even chocolate. This Simple Homemade Cheese Danish Recipe truly caters to a variety of tastes while being simple and satisfying.
Ingredients :
To create your Simple Homemade Cheese Danish Recipe, you will need the following ingredients:
- All-purpose flour: This is the base for the pastry dough. You will need about 2 cups of all-purpose flour, which helps provide structure and texture to the danish. The right flour will ensure that your pastry turns out flaky and tender, allowing it to rise beautifully as it bakes.
- Sugar: Adding 1/4 cup of granulated sugar will sweeten the dough and enhance the overall flavor of the cheese danish. Sugar not only adds sweetness but also contributes to a golden-brown crust as it caramelizes during baking.
- Salt: Just a pinch of salt (about 1/2 teaspoon) will help balance the sweetness and enhance the flavors of the other ingredients. Salt is a crucial component in baking as it strengthens the gluten structure in the flour.
- Baking powder: You will need 1 tablespoon of baking powder to help the dough rise and achieve a light, airy texture. This leavening agent is essential for creating that perfect flaky danish.
- Unsalted butter: Use 1/2 cup (or 1 stick) of cold unsalted butter, cut into small pieces. The cold butter is key for achieving a flaky pastry, as it creates steam pockets when baked, resulting in a tender texture.
- Milk: About 1/2 cup of milk will be needed to bring the dough together. It hydrates the dry ingredients and helps create a cohesive dough that is easy to work with.
- Cream cheese: For the filling, 8 ounces of softened cream cheese is essential. This rich, creamy ingredient provides the signature flavor of the cheese danish and creates a smooth, luscious filling that is both sweet and tangy.
- Vanilla sugar: Use 1/4 cup of vanilla sugar for flavoring the cheese filling. If you don’t have vanilla sugar, you can simply mix regular sugar with a touch of vanilla flavor to achieve a similar taste.
- Egg yolk: One large egg yolk will help bind the cheese filling and give it a rich color. The yolk adds creaminess and contributes to the overall texture of the filling.
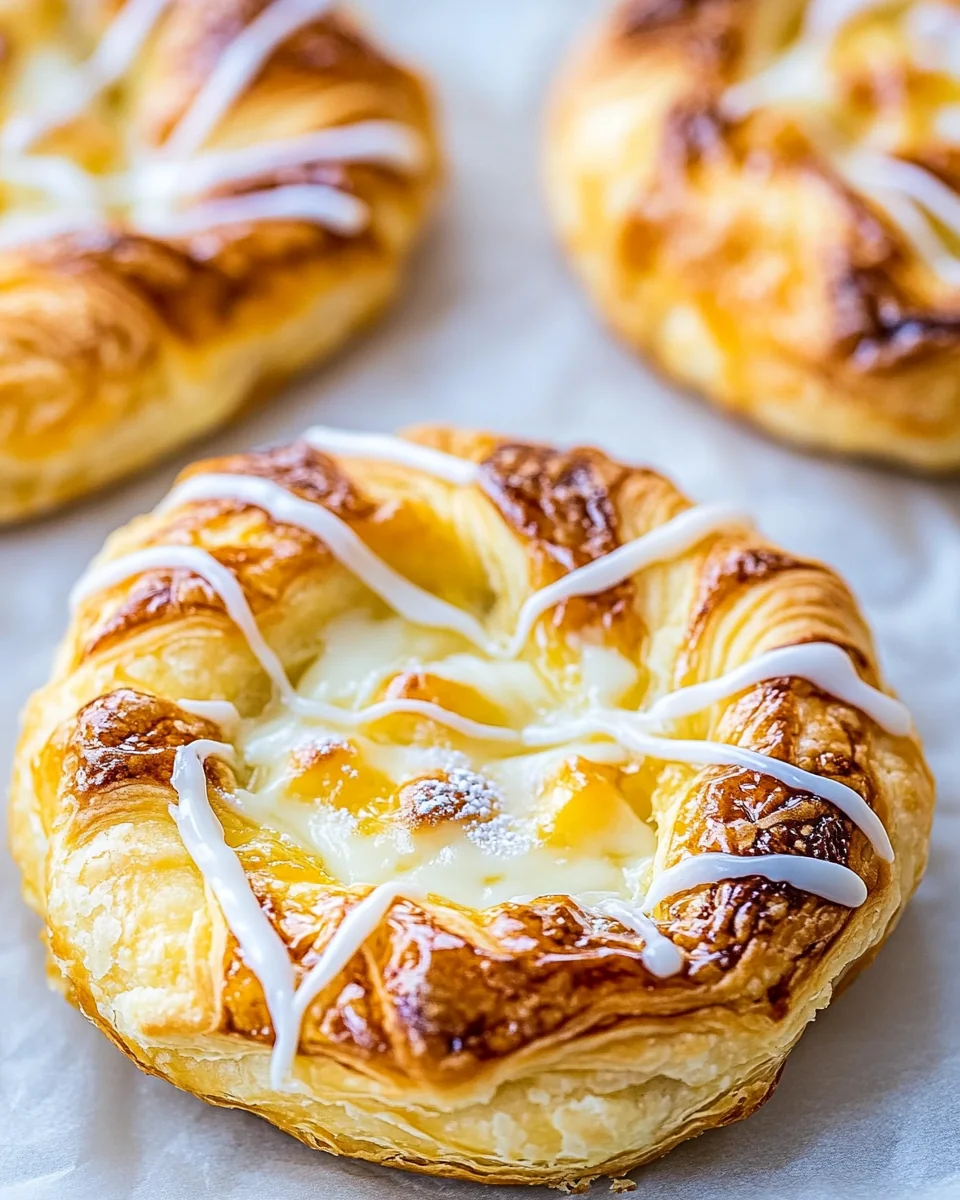
- Optional toppings: For a finishing touch, consider using powdered sugar or a light glaze made from milk and sugar to drizzle over the finished pastries. This adds a sweet finish and makes the danish even more appealing.
Step by Step :
Follow these detailed steps to make your Simple Homemade Cheese Danish Recipe:
- Begin by preheating your oven to 375°F (190°C). This ensures that your oven is hot enough to create a crispy pastry crust.
- In a large mixing bowl, combine 2 cups of all-purpose flour, 1/4 cup of sugar, 1/2 teaspoon of salt, and 1 tablespoon of baking powder. Whisk these dry ingredients together until they are well combined, ensuring that the baking powder is evenly distributed.
- Add the cold, cubed unsalted butter to the dry mixture. Using a pastry cutter or your fingers, work the butter into the flour until the mixture resembles coarse crumbs. This step is crucial for achieving that flaky texture, so be gentle and avoid overworking the dough.
- Next, pour in 1/2 cup of milk gradually, mixing until the dough starts to come together. You want to achieve a soft but not sticky dough. If the dough feels too dry, add a splash more milk, but be cautious not to overdo it.
- Once the dough is formed, turn it out onto a lightly floured surface. Gently knead the dough for a few seconds until it is smooth. Be careful not to over-knead, as this can lead to a tough pastry.
- Roll out the dough into a rectangle about 1/4 inch thick. Use a rolling pin and ensure that the edges are as even as possible. The rolling process helps create the layers necessary for flakiness.
- Now, prepare the cheese filling by beating 8 ounces of softened cream cheese in a separate bowl until smooth. Add 1/4 cup of vanilla sugar and 1 egg yolk, mixing until well combined. This mixture should be creamy and free of lumps.
- Cut the rolled-out dough into equal squares or triangles, depending on your preference. Each piece should be around 4-5 inches wide. Place a generous spoonful of the cream cheese filling in the center of each piece.
- Fold the corners of the dough over the filling, pinching them together to seal the danish. You can also create a twisted shape by rolling the dough before sealing, which adds an attractive presentation.
- Place the assembled danishes on a parchment-lined baking sheet, ensuring they are spaced at least an inch apart to allow for rising. Brush the tops lightly with a beaten egg for a beautiful golden finish.
- Bake in the preheated oven for about 20-25 minutes or until the pastries are puffed and golden brown. Keep an eye on them during the last few minutes to prevent burning.
- Once baked, remove the danishes from the oven and allow them to cool on the baking sheet for a few minutes before transferring them to a wire rack.
- For an optional finishing touch, dust the cooled danishes with powdered sugar or drizzle a light glaze made from powdered sugar and milk over the top.
- Serve warm for the best flavor experience, and enjoy your homemade pastries with a cup of coffee or tea!
Tips for Variations:
To make this Simple Homemade Cheese Danish Recipe even more exciting, consider these creative variations:
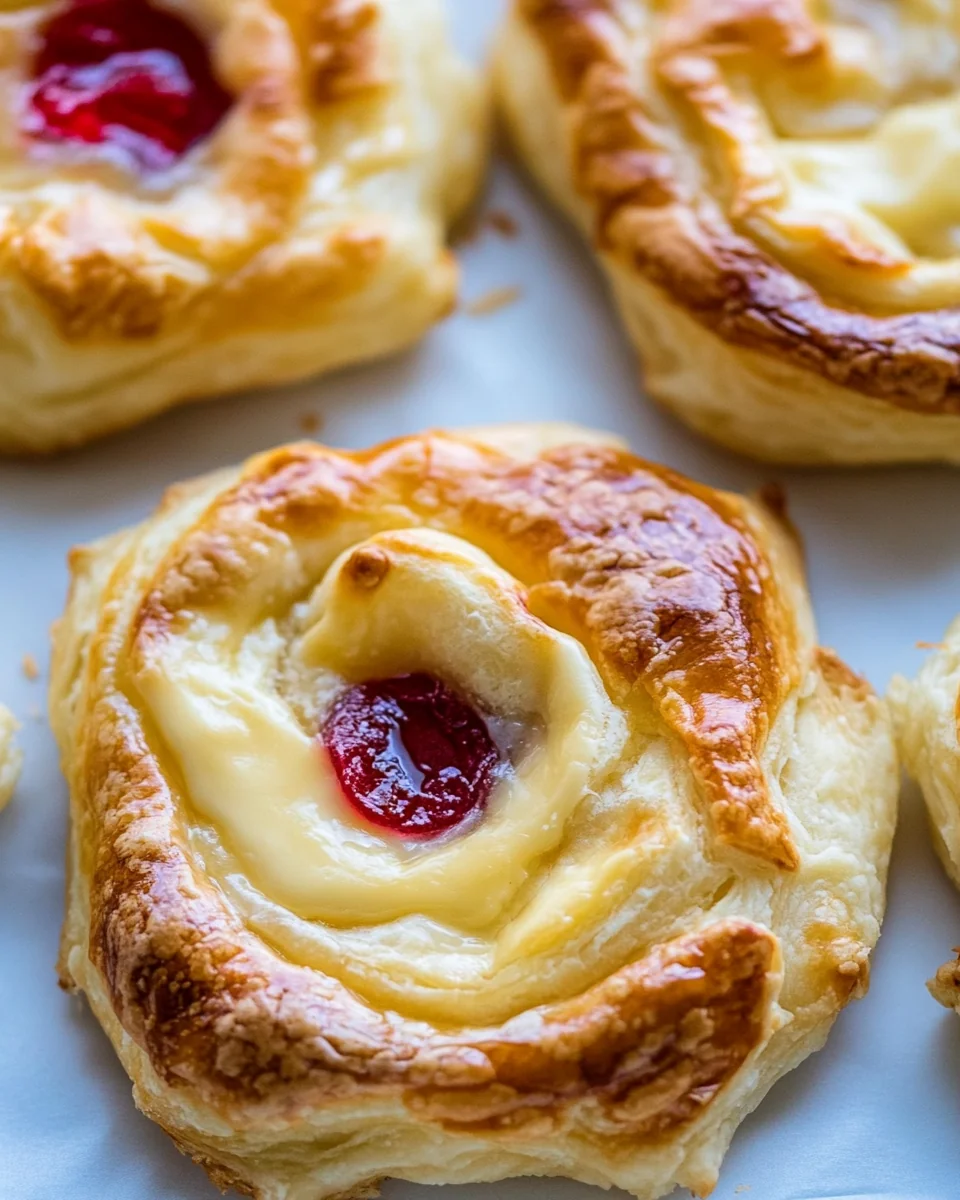
- Fruit fillings: Enhance the flavor by adding fresh fruits such as blueberries, raspberries, or sliced strawberries to the cream cheese filling. This adds a burst of freshness and a pop of color to your danish.
- Chocolate twist: For chocolate lovers, incorporate mini chocolate chips into the cream cheese filling. This adds a rich, decadent flavor that pairs beautifully with the creamy cheese.
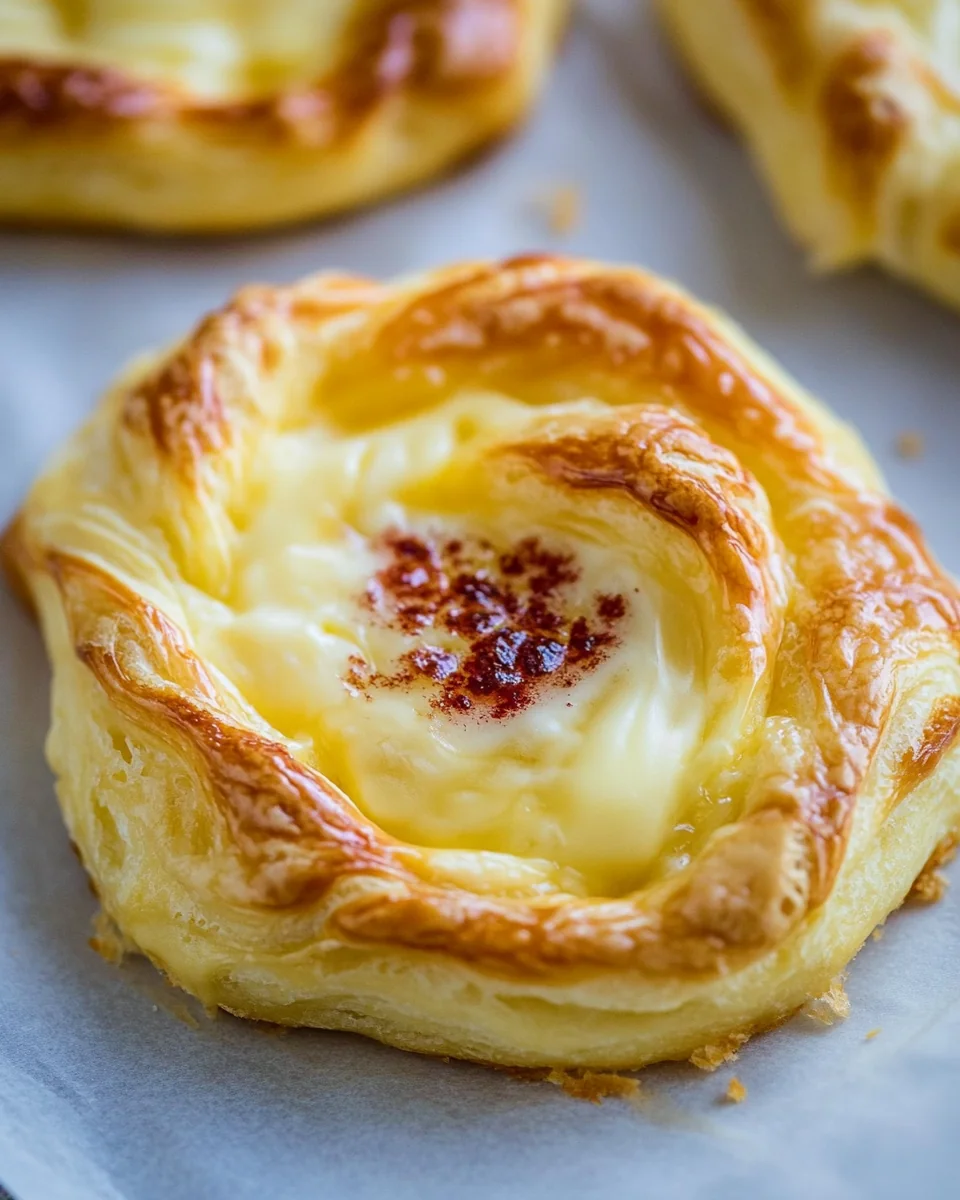
- Spiced filling: Experiment with spices by adding a pinch of cinnamon or nutmeg to the cream cheese mixture. This will give your danish a warm, aromatic touch, perfect for fall or winter.
- Citrus zest: Zest a lemon or orange and mix it into the filling for a bright, refreshing flavor. The citrus notes will complement the cream cheese beautifully and lighten the overall taste.
- Nutty crunch: Add finely chopped nuts such as almonds or pecans to the filling for added texture and flavor. This gives the danish a delightful crunch that contrasts with the creamy interior.
- Glazing options: Instead of just powdered sugar, you can create different glazes using lemon juice or orange juice mixed with powdered sugar. This adds a tangy sweetness that elevates the danish.
- Mini danishes: For a fun twist, make mini versions of the danish by cutting the dough into smaller squares. These bite-sized treats are perfect for parties and gatherings.
- Savory version: For a savory cheese danish, consider using feta or goat cheese mixed with herbs like dill or chives. This transforms the pastry into a delightful appetizer that is sure to impress.
- Layered pastries: Try layering the dough with additional butter and flour before rolling it out. This technique creates even more flakiness and a more complex texture in the final product.
- Seasonal themes: Tailor your fillings and toppings to the seasons, such as pumpkin spice for autumn or fresh berries for spring. This keeps your baking fresh and exciting throughout the year.
Serving Suggestions:
When it comes to serving your Simple Homemade Cheese Danish Recipe, consider the following ideas:
- Breakfast delight: Serve warm danishes alongside a fresh fruit salad and a steaming cup of coffee or tea for a perfect breakfast spread that will please family and guests alike.
- Brunch centerpiece: Arrange the danishes on a platter for a brunch gathering. They make for an impressive centerpiece and can be paired with various beverages like mimosas or fruit juices.
- Snack time: These danishes are excellent as a mid-afternoon snack. Serve them with a side of yogurt or a fruit smoothie for a balanced treat.
- Seasonal gatherings: During special occasions like Ramadan or holidays, these pastries can be a wonderful addition to the dessert table, showcasing your baking skills to friends and family.
- Storage tips: To store leftovers, place the cooled danishes in an airtight container at room temperature for up to two days. For longer storage, refrigerate them for up to a week.
- Reheating: To revive the flaky texture, reheat the danishes in the oven at 350°F (175°C) for about 5-10 minutes before serving. This ensures they remain deliciously warm and crispy.
- Pairing with dips: Consider serving the danishes with a honey or chocolate dip for an added layer of indulgence. This can elevate the experience and offer a fun way to enjoy the pastries.
- Gift giving: These danishes make a lovely homemade gift. Present them in a decorative box or tin, making them perfect for sharing with neighbors or friends during festive seasons.
- Personal touch: Customize the serving style by adding fresh flowers or decorative elements around the platter for a visually appealing presentation.
- Enjoying with family: Make it a family tradition to bake and enjoy these danishes together, creating lasting memories while savoring the delicious results.
FAQ:
How do I store leftovers?
To store any leftovers from your Simple Homemade Cheese Danish Recipe, place the cooled pastries in an airtight container at room temperature for up to two days. For longer freshness, consider refrigerating them for about a week.
Can I freeze this recipe?
Yes, you can freeze the danishes! After baking, allow them to cool completely, then place them in a freezer-safe container. They can be frozen for up to three months. To enjoy, simply reheat them in the oven.
Can I make the dough in advance?
Absolutely! You can prepare the dough ahead of time and refrigerate it for up to 24 hours. Just make sure to allow it to come to room temperature before rolling it out.
What can I do if I don’t have cream cheese?
If cream cheese is unavailable, you can use ricotta cheese or mascarpone as an alternative. They will provide a different flavor but will still create a delicious filling for your danishes.
How can I tell when the danishes are done baking?
The danishes are done when they are golden brown and puffed up. You can also check the bottom; it should be firm and lightly browned as well. A toothpick inserted into the filling should come out clean.
Simple Homemade Cheese Danish
Equipment
- Mixing Bowl
- Rolling Pin
- Baking Sheet
- Parchment Paper
Ingredients
Dough Ingredients
- 2 cups All-purpose flour Base for the pastry dough.
- 1/4 cup Granulated sugar Sweetens the dough.
- 1/2 teaspoon Salt Balances sweetness.
- 1 tablespoon Baking powder Helps dough rise.
- 1/2 cup Unsalted butter Cold, cut into small pieces.
- 1/2 cup Milk Brings dough together.
Filling Ingredients
- 8 ounces Cream cheese Softened for filling.
- 1/4 cup Vanilla sugar For flavoring the filling.
- 1 large Egg yolk Binds the filling.
Optional Toppings
- Powdered sugar For dusting.
- Glaze Made from milk and sugar.
Instructions
- Preheat your oven to 375°F (190°C).
- In a large mixing bowl, combine flour, sugar, salt, and baking powder. Whisk until well combined.
- Add cold butter to the dry mixture and work it into the flour until it resembles coarse crumbs.
- Gradually pour in milk, mixing until the dough comes together. Adjust with more milk if too dry.
- Turn the dough onto a floured surface and knead gently until smooth.
- Roll out the dough into a rectangle about 1/4 inch thick.
- In a separate bowl, beat cream cheese until smooth. Mix in vanilla sugar and egg yolk until creamy.
- Cut the dough into squares or triangles, place filling in the center, and fold corners over to seal.
- Place on a parchment-lined baking sheet and brush tops with beaten egg.
- Bake for 20-25 minutes until golden brown.
- Cool on a wire rack and dust with powdered sugar or drizzle with glaze before serving.