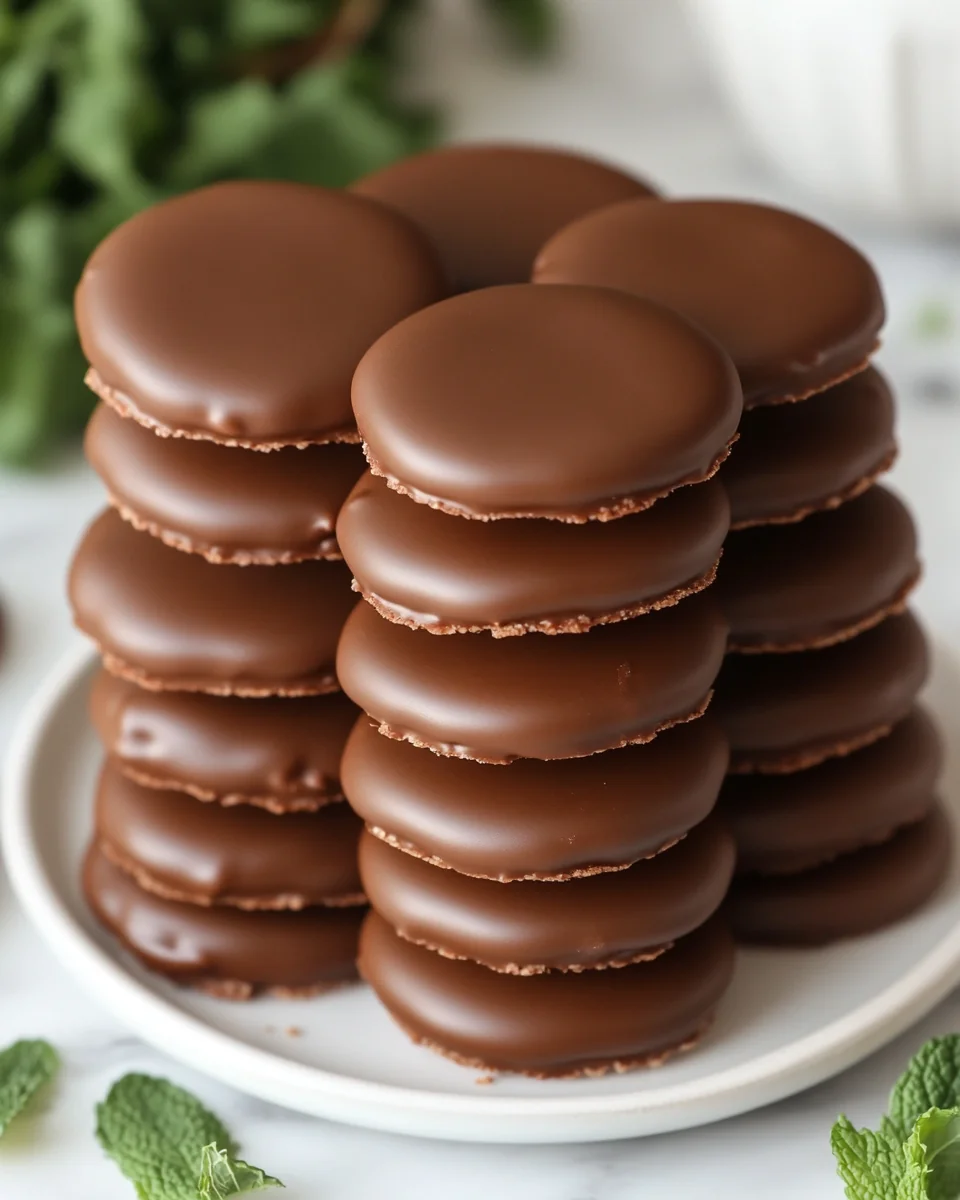
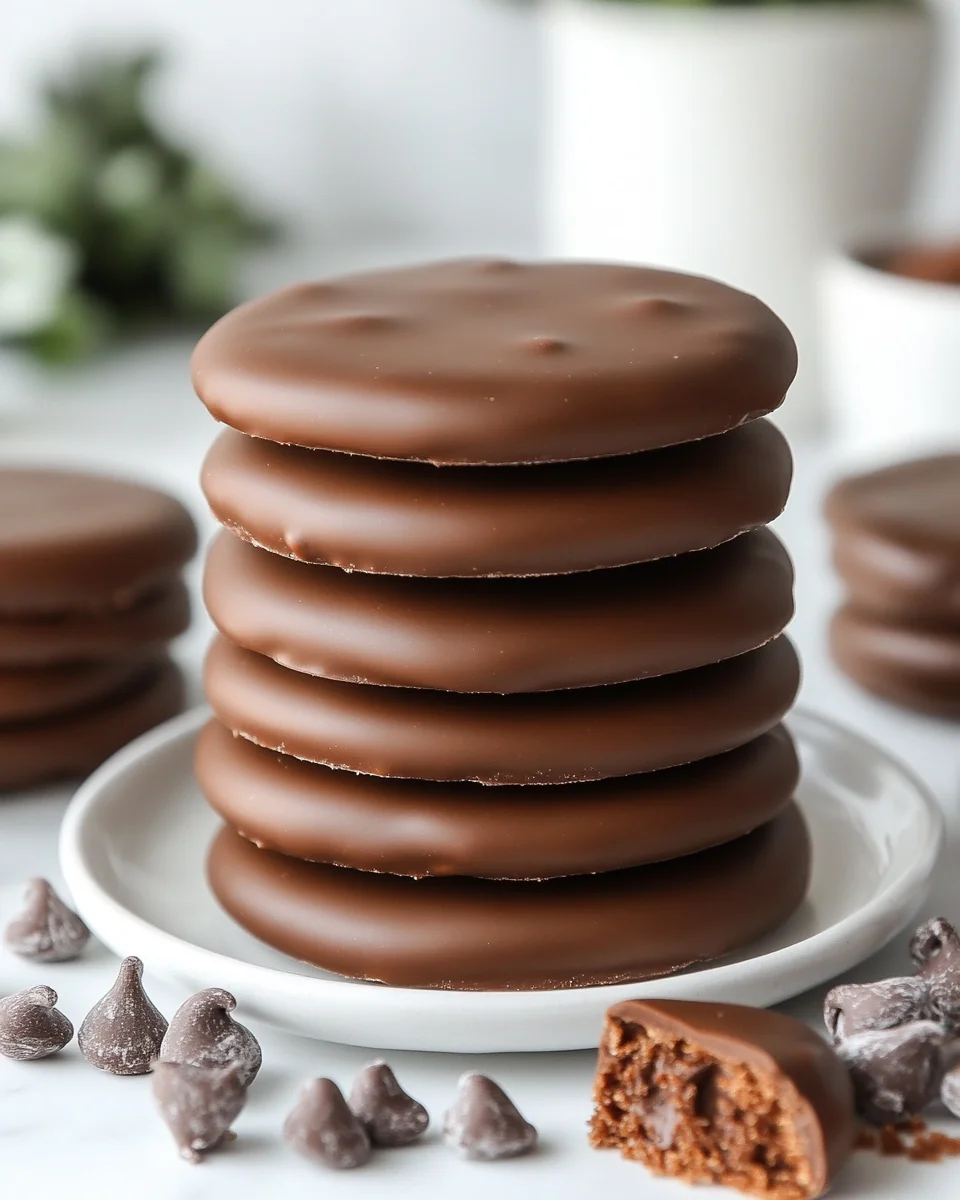
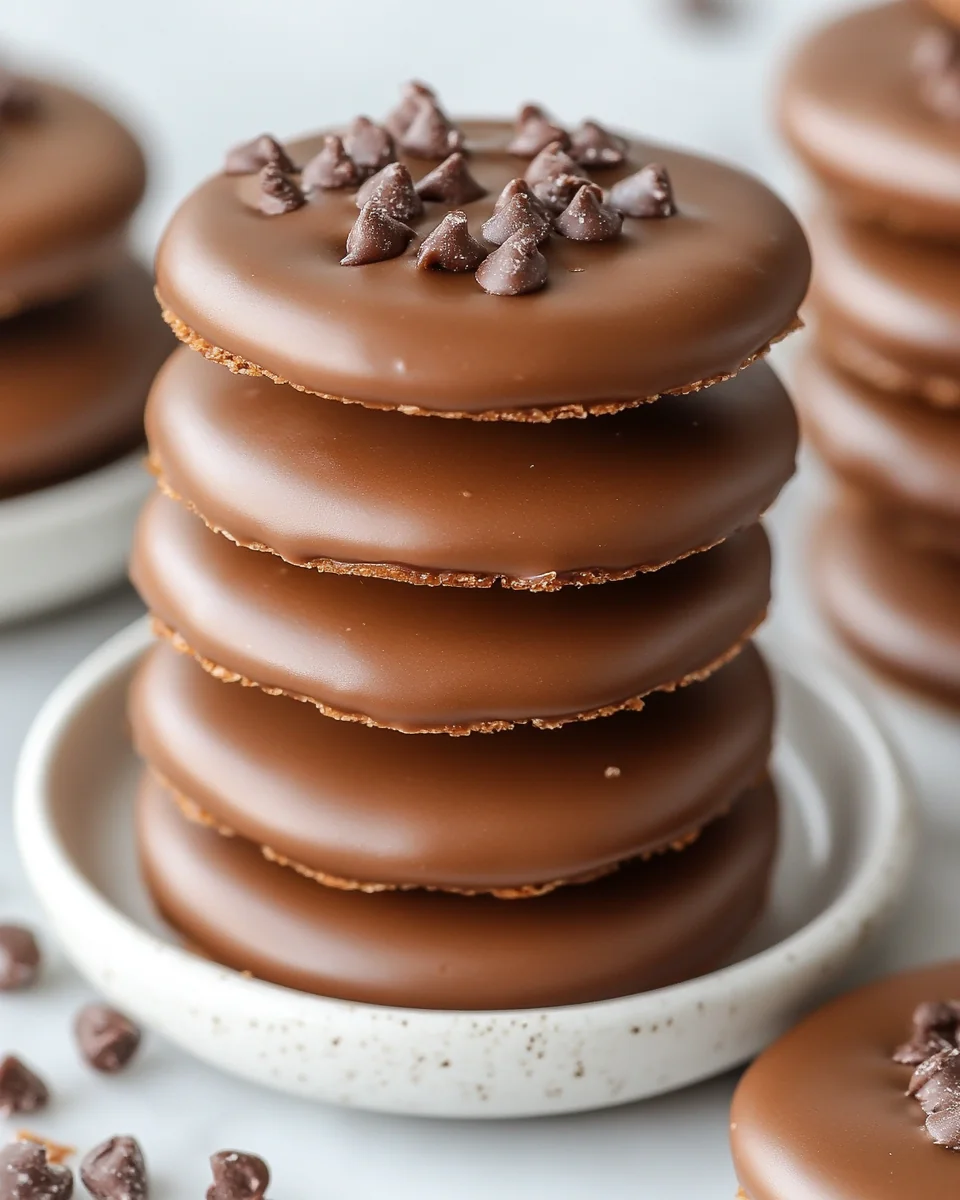
Easy Homemade Thin Mint Cookies for a Flavor-Packed Treat
Are you ready to indulge in a classic dessert that brings the flavors of mint and chocolate together in perfect harmony? Look no further than these Easy Homemade Thin Mint Cookies for a Flavor-Packed Treat. This delightful recipe captures the essence of your favorite minty cookies, featuring a rich chocolate cookie base coated in a smooth mint chocolate glaze. Ideal for family gatherings, afternoon tea, or just a cozy evening at home, these cookies are bound to impress. The balance of sweetness and minty freshness makes them appealing to both kids and adults alike. Whether you’re celebrating a special occasion or simply treating yourself, these cookies promise to satisfy your cravings and elevate your dessert experience.
Why You’ll Love This Recipe?
One of the standout features of these Easy Homemade Thin Mint Cookies for a Flavor-Packed Treat is their incredible flavor combination. The rich chocolate base pairs perfectly with the refreshing mint, creating a dessert that is both comforting and invigorating. Each bite delivers a burst of flavor that leaves you wanting more.
Another reason to love this recipe is its simplicity. With just a few ingredients and straightforward instructions, even novice bakers can achieve delicious results. You won’t need any fancy equipment or complicated techniques, making this recipe accessible for everyone.
Moreover, these cookies offer great versatility. Customize them by adjusting the level of mint flavor or experimenting with different coatings. Whether you prefer a darker chocolate coating or want to add a sprinkle of sea salt for an extra flavor punch, the possibilities are endless. This adaptability ensures that you can enjoy these cookies year-round, making them a staple in your baking repertoire.
Ingredients of Easy Homemade Thin Mint Cookies for a Flavor-Packed Treat:
To create these Easy Homemade Thin Mint Cookies for a Flavor-Packed Treat, gather the following ingredients:
- All-purpose flour: This is the foundation of your cookies, providing the necessary structure. For this recipe, you will need about 1 ½ cups of all-purpose flour. It helps create a soft yet firm cookie that holds its shape during baking.
- Cocoa powder: Used to infuse a rich chocolate flavor into your cookies, you will require ½ cup of unsweetened cocoa powder. This ingredient adds depth and a delightful bitterness that balances the sweetness of the cookies.
- Baking soda: You’ll need ½ teaspoon of baking soda to help the cookies rise slightly while baking. This leavening agent ensures your cookies are soft and chewy, creating the perfect texture.
- Salt: A pinch of salt, approximately ¼ teaspoon, enhances the overall flavor profile of the cookies. It helps to balance the sweetness and enrich the chocolate notes.
- Sugar: A combination of 1 cup of granulated sugar and ½ cup of brown sugar will provide the necessary sweetness and moisture. The brown sugar adds a hint of caramel flavor, making the cookies even more delicious.
- Butter: For a rich taste and tender texture, use ½ cup of unsalted butter, softened. Butter is crucial for the cookies’ flavor and helps achieve that melt-in-your-mouth experience.
- Egg: One large egg is needed to bind all the ingredients together. It also contributes to the cookies’ structure and moisture.
- Mint extract: To capture that classic thin mint flavor, add 1 teaspoon of peppermint extract. This ingredient is key to achieving the refreshing minty taste that makes these cookies irresistible.
- Chocolate chips: You will require 1 cup of semisweet chocolate chips for the coating. They melt beautifully, creating a decadent outer layer that complements the cookie’s flavor.
- Vegetable oil: About 2 tablespoons of vegetable oil is used to thin the melted chocolate for coating. This helps achieve a smooth, glossy finish on your cookies.
How to Make Easy Homemade Thin Mint Cookies for a Flavor-Packed Treat?

To create your own batch of Easy Homemade Thin Mint Cookies for a Flavor-Packed Treat, follow these detailed instructions:
- Begin by preheating your oven to 350°F (175°C). This ensures that your cookies bake evenly and achieve the perfect texture. Line two baking sheets with parchment paper to prevent sticking.
- In a medium bowl, whisk together the all-purpose flour, cocoa powder, baking soda, and salt until well combined. This step is crucial as it helps to evenly distribute the dry ingredients, ensuring a consistent flavor throughout your cookies.
- In a separate large mixing bowl, cream together the softened unsalted butter, granulated sugar, and brown sugar using an electric mixer on medium speed. Beat the mixture for about 2-3 minutes until it becomes light and fluffy. This process incorporates air into the butter, which will help your cookies rise.
- Add the egg and peppermint extract to the butter-sugar mixture. Continue to mix until fully incorporated, which should take about 1 minute. This addition enhances the flavor and binds the ingredients together.
- Gradually add the dry ingredient mixture to the wet ingredients, mixing on low speed until just combined. Be careful not to overmix, as this can lead to tough cookies. The dough should be thick and slightly sticky.
- Fold in the chocolate chips using a spatula or wooden spoon. This creates pockets of melted chocolate in each cookie, adding a rich flavor to every bite.
- Using a tablespoon or cookie scoop, drop rounded balls of dough onto the prepared baking sheets, leaving about 2 inches of space between each cookie to allow for spreading.
- Bake the cookies in the preheated oven for 10-12 minutes, or until the edges are firm but the centers are still soft. The cookies will continue to firm up as they cool, so be careful not to overbake.
- Once baked, remove the cookies from the oven and let them cool on the baking sheets for about 5 minutes. Then, transfer them to a wire rack to cool completely.
- While the cookies are cooling, prepare the chocolate coating. In a microwave-safe bowl, combine the semisweet chocolate chips and vegetable oil. Heat in the microwave in 30-second intervals, stirring in between, until the chocolate is completely melted and smooth.
- Dip each cooled cookie into the melted chocolate, ensuring it is fully coated. Allow any excess chocolate to drip off before placing the cookies back on the parchment paper. Repeat this process until all cookies are coated.
- Once all cookies are coated, refrigerate them for about 30 minutes to set the chocolate. This step gives your cookies a beautiful shiny finish and allows the chocolate to firm up.
- After the chocolate has set, your Easy Homemade Thin Mint Cookies for a Flavor-Packed Treat are ready to enjoy! Store any leftovers in an airtight container at room temperature for up to one week.
Tips for Variations:
While the traditional Easy Homemade Thin Mint Cookies for a Flavor-Packed Treat are delicious as is, consider these creative variations to elevate your baking experience:
- Chocolate Mint Swirl: For a fun twist, swirl melted white chocolate into the chocolate coating for a visually striking effect. This adds a creamy element that contrasts beautifully with the dark chocolate.
- Mint Chocolate Crinkle Cookies: Roll your cookie dough balls in powdered sugar before baking to create a crinkle effect. This adds a unique texture and a sweet touch to the overall flavor profile.
- Double Chocolate Mint Cookies: Incorporate mini chocolate chips into the dough for an extra chocolatey experience. This variation intensifies the chocolate flavor while maintaining the classic mint essence.
- Minty Oreo Cookies: Crush some Oreo cookies and mix them into the dough for added texture and flavor. This will give your cookies a delightful crunch and a hint of creaminess.
- Gluten-Free Version: Substitute all-purpose flour with a gluten-free baking blend to create a gluten-free version of these cookies. This allows those with dietary restrictions to indulge in the same delicious treat.
- Minty Dipped Cookies: Instead of coating the entire cookie, dip just half of the cookie in chocolate. This creates a delightful contrast between the chocolate and the minty cookie base.
- Layered Mint Cookies: Create a sandwich cookie by adding a layer of mint frosting between two cookies. This makes for a rich, indulgent treat that is perfect for special occasions.
- Mini Thin Mint Cookies: Use a smaller cookie scoop to make mini versions of the original recipe. These bite-sized cookies are perfect for sharing at parties or gatherings.
- Mint Chocolate Chip Cookies: Incorporate mint chocolate chips into the dough for an extra burst of mint flavor in every bite. This variation enhances the mint experience while keeping the classic chocolate base.
- Seasonal Sprinkles: Top your coated cookies with seasonal sprinkles for a festive touch. This adds color and fun, making your cookies more appealing for celebrations.
Serving Suggestions:
When it comes to serving your Easy Homemade Thin Mint Cookies for a Flavor-Packed Treat, consider these delightful suggestions to enhance your enjoyment:
- Pair with Milk: Serve your cookies alongside a cold glass of milk for the ultimate classic combination. The creaminess of milk complements the rich flavors of mint and chocolate beautifully.
- Perfect for Gatherings: These cookies make an excellent addition to any gathering or celebration. Arrange them on a decorative platter for a visually appealing dessert table.
- Ideal for Afternoon Tea: Enjoy these cookies during afternoon tea or coffee breaks. Their refreshing mint flavor pairs perfectly with a cup of herbal tea or your favorite brew.
- Gift Giving: Package these cookies in a decorative box or jar as a thoughtful gift for friends and family. They are perfect for birthdays, holidays, or just to show someone you care.
- Storage Tips: Store the cookies in an airtight container at room temperature to maintain their freshness. They can last up to one week, but we doubt they will last that long!
- Seasonal Celebrations: These cookies are versatile enough to be enjoyed year-round. Whether it’s a summer picnic or a winter holiday party, they will be a hit with guests of all ages.
- Ice Cream Sandwiches: Use two cookies to create a delicious ice cream sandwich. Choose your favorite ice cream flavor to complement the minty chocolate goodness.
- Decorate for Occasions: Use colored icing or edible markers to decorate the cookies for various holidays, making them festive and fun.
- Enjoy with Fresh Fruit: Pair these cookies with fresh fruit like strawberries or raspberries for a refreshing contrast. The tartness of the fruit balances the sweetness of the cookies.
- For Ramadan: These cookies make a delightful treat to serve during Ramadan celebrations, offering a sweet end to the day’s fast.
FAQ:
How do I store leftovers?
To store leftover Easy Homemade Thin Mint Cookies for a Flavor-Packed Treat, place them in an airtight container at room temperature. They will remain fresh for up to one week. Make sure to separate layers with parchment paper if stacking to prevent sticking.
Can I freeze this Easy Homemade Thin Mint Cookies for a Flavor-Packed Treat?
Yes, you can freeze these cookies! Once cooled, place them in a single layer in an airtight container, separating layers with parchment paper. Freeze for up to three months. Thaw them in the refrigerator before enjoying.
Can I use dark chocolate instead of semisweet chocolate?
Absolutely! Using dark chocolate will give your Easy Homemade Thin Mint Cookies for a Flavor-Packed Treat a richer flavor. Just keep in mind that dark chocolate can be more intense, so adjust according to your taste preferences.
How can I make these cookies less sweet?
If you prefer a less sweet cookie, consider reducing the amount of sugar by ¼ cup. Additionally, using dark chocolate for the coating will also help balance the sweetness of the cookie itself.
Can I add nuts to the cookie dough?
Yes, adding nuts like chopped walnuts or pecans can introduce a delightful crunch to your Easy Homemade Thin Mint Cookies for a Flavor-Packed Treat. Just be sure to chop them finely for even distribution in the dough.

Easy Homemade Thin Mint Cookies for a Flavor-Packed Treat
Equipment
- Mixing Bowl
- Baking Sheets
- Parchment Paper
- Electric Mixer
- Spatula
Ingredients
Dry Ingredients
- 1.5 cups All-purpose flour Provides structure to the cookies.
- 0.5 cups Cocoa powder Infuses a rich chocolate flavor.
- 0.5 teaspoon Baking soda Helps cookies rise slightly.
- 0.25 teaspoon Salt Enhances overall flavor.
Wet Ingredients
- 1 cup Granulated sugar Provides sweetness.
- 0.5 cup Brown sugar Adds moisture and caramel flavor.
- 0.5 cup Unsalted butter Softened for mixing.
- 1 large Egg Binds ingredients together.
- 1 teaspoon Peppermint extract Provides minty flavor.
Coating
- 1 cup Semisweet chocolate chips For coating the cookies.
- 2 tablespoons Vegetable oil Used to thin the melted chocolate.
Instructions
- Preheat your oven to 350°F (175°C) and line two baking sheets with parchment paper.
- In a medium bowl, whisk together the flour, cocoa powder, baking soda, and salt.
- In a large mixing bowl, cream together the softened butter, granulated sugar, and brown sugar until light and fluffy.
- Add the egg and peppermint extract to the butter-sugar mixture and mix until fully incorporated.
- Gradually add the dry ingredients to the wet ingredients, mixing on low speed until just combined.
- Fold in the chocolate chips using a spatula.
- Drop rounded balls of dough onto the prepared baking sheets, leaving space between each cookie.
- Bake for 10-12 minutes, until the edges are firm but centers are still soft.
- Let the cookies cool on the baking sheets for 5 minutes, then transfer to a wire rack to cool completely.
- Prepare the chocolate coating by melting the chocolate chips and vegetable oil in the microwave.
- Dip each cooled cookie into the melted chocolate, allowing excess to drip off.
- Refrigerate the cookies for about 30 minutes to set the chocolate.
- Your cookies are ready to enjoy! Store leftovers in an airtight container.