Delicious Homemade Kimchi Chicken Katsu
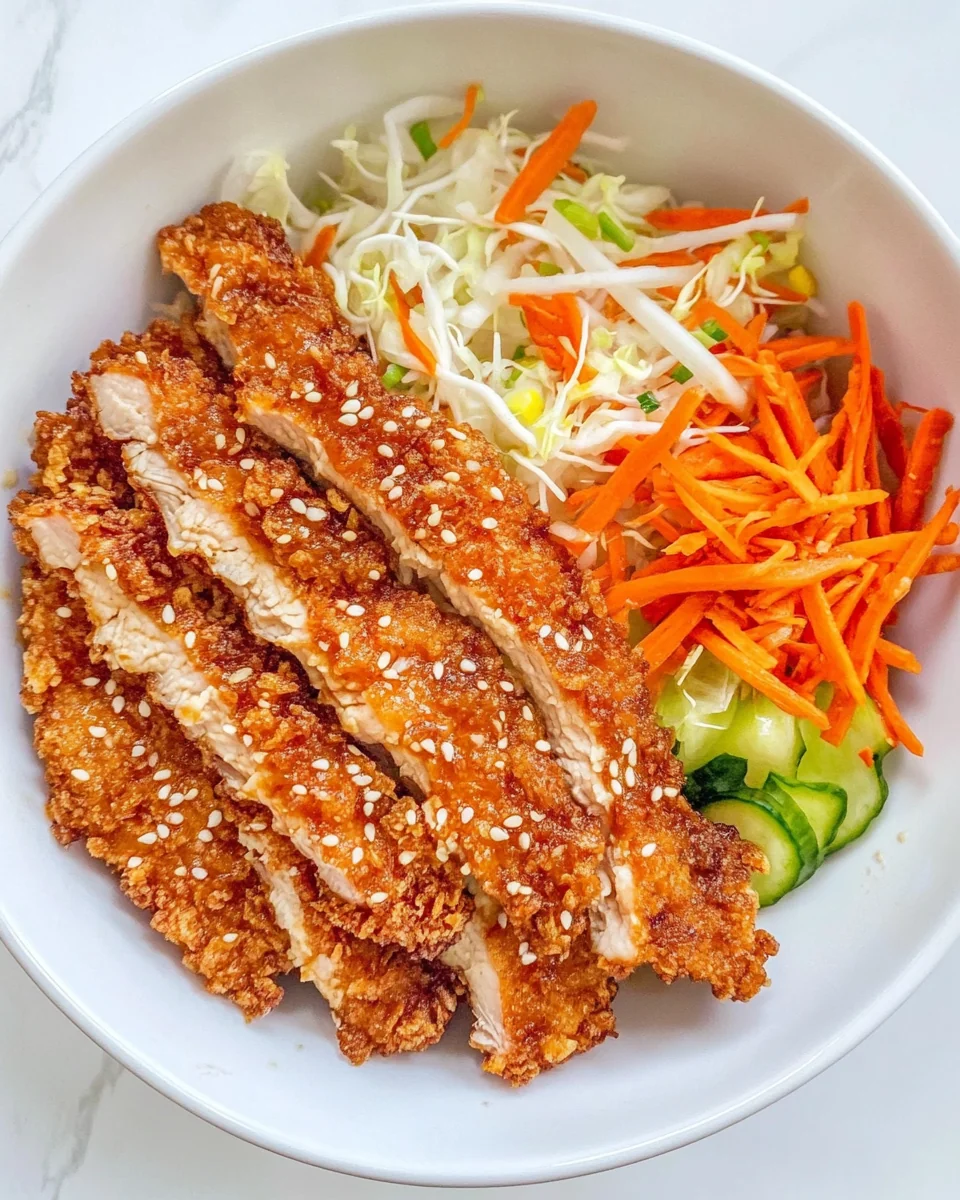
The flavor-packed and crispy Delicious Homemade Kimchi Chicken Katsu is a delightful twist on the classic Japanese dish. This dish features tender chicken fillets coated in a crunchy breadcrumb crust, enhanced with the spicy and tangy notes of kimchi. Ideal for weeknight meals or family gatherings, this recipe is sure to impress both your taste buds and your guests. The standout quality of this dish lies in the unique combination of flavors; the savory chicken paired with the fermented zest of kimchi creates a harmonious balance. Whether served with rice, salad, or a dipping sauce, Delicious Homemade Kimchi Chicken Katsu is versatile enough to please any palate.
Why You’ll Love This Recipe?
There are several compelling reasons why Delicious Homemade Kimchi Chicken Katsu deserves a spot in your recipe collection. First and foremost, the taste is simply remarkable; the spicy, fermented flavors of kimchi perfectly complement the crunchy, golden-brown chicken. The balance of textures—from the crispy coating to the juicy chicken—makes each bite a delightful experience. Another reason to love this recipe is its ease of preparation. You don’t need to be a culinary expert to create this dish; with straightforward steps and minimal cooking techniques, it’s accessible for cooks at every skill level. Additionally, it’s a great option for meal prepping; you can make a batch ahead of time and reheat it for quick lunches or dinners throughout the week. Lastly, Delicious Homemade Kimchi Chicken Katsu is highly versatile. It can be served in various ways, whether as a main course, in a sandwich, or on top of a salad, making it a fantastic choice for any occasion.
Ingredients to make The recipe :
To create the perfect Delicious Homemade Kimchi Chicken Katsu, you will need the following ingredients:
- Chicken Breasts: Use boneless, skinless chicken breasts, weighing about 1 pound total. Chicken is the star of this dish and provides the protein base. The chicken should be pounded to an even thickness for uniform cooking. This helps achieve a tender texture that contrasts beautifully with the crunchy exterior.
- Kimchi: About 1 cup of your favorite kimchi, chopped into small bits. This fermented vegetable dish adds a punch of flavor and a touch of spice to the chicken. The kimchi will also contribute moisture, ensuring the chicken remains juicy once cooked.
- Panko Breadcrumbs: Approximately 1 cup of panko breadcrumbs is essential for achieving that signature crispy coating. Panko is lighter and flakier than regular breadcrumbs, providing a superior crunch and texture that elevates the dish significantly.
- All-Purpose Flour: Around ½ cup of all-purpose flour is needed to help the breadcrumbs adhere to the chicken. This essential ingredient acts as a binding agent, creating a barrier that ensures a crispy finish when fried.
- Eggs: 2 large eggs, beaten, are necessary for the breading process. The eggs act as a glue, helping the flour and panko stick to the chicken while also adding richness to the coating.
- Salt and Pepper: Season to taste, about ½ teaspoon of salt and a pinch of pepper. These basic seasonings enhance the overall flavor of the chicken and should be added at each stage of preparation for maximum impact.
- Vegetable Oil: For frying, about ½ cup of vegetable oil is required. This oil should be heated to the right temperature for frying, allowing the chicken to cook thoroughly while achieving a golden-brown color.
- Optional Garnishes: Chopped green onions or sesame seeds can be used for garnish. These add a touch of freshness and visual appeal to the finished dish.
How to Make Delicious Homemade Kimchi Chicken Katsu ?
To make Delicious Homemade Kimchi Chicken Katsu, follow these detailed steps:
- Begin by preparing the chicken breasts. Place each chicken breast between two sheets of plastic wrap and pound it to an even thickness of about ½ inch using a meat mallet. This ensures that the chicken cooks evenly and remains tender.
- Once pounded, season both sides of the chicken breasts with salt and pepper. This initial seasoning step is crucial as it enhances the flavor of the chicken.
- Next, take the chopped kimchi and mix it with the chicken in a bowl. Allow the chicken to marinate in the kimchi for at least 15 minutes, which will infuse the meat with delightful flavors.
- While the chicken is marinating, set up your breading station. In one shallow dish, place the all-purpose flour; in another dish, beat the eggs until well combined; and in a third dish, pour in the panko breadcrumbs.
- After marinating, remove the chicken from the kimchi and let any excess liquid drip off. Dredge each chicken breast first in the flour, making sure to coat it evenly. This will help the egg adhere better.
- Next, dip the floured chicken into the beaten eggs, ensuring that every surface is covered. The egg will provide the moisture needed for the breadcrumbs to stick.
- Finally, coat the chicken with panko breadcrumbs, pressing down gently to ensure a good coverage. The more panko you can get on the chicken, the crunchier the final result will be.
- In a large skillet, heat the vegetable oil over medium-high heat until it shimmers. Carefully add the coated chicken breasts to the hot oil, making sure not to overcrowd the pan. Fry them in batches if necessary.
- Cook the chicken for about 4-5 minutes on each side or until they are golden brown and cooked through. You can check for doneness by cutting into the thickest part of the chicken; it should no longer be pink.
- Once cooked, transfer the chicken to a paper towel-lined plate to absorb any excess oil. This step helps maintain the crispiness of the coating.
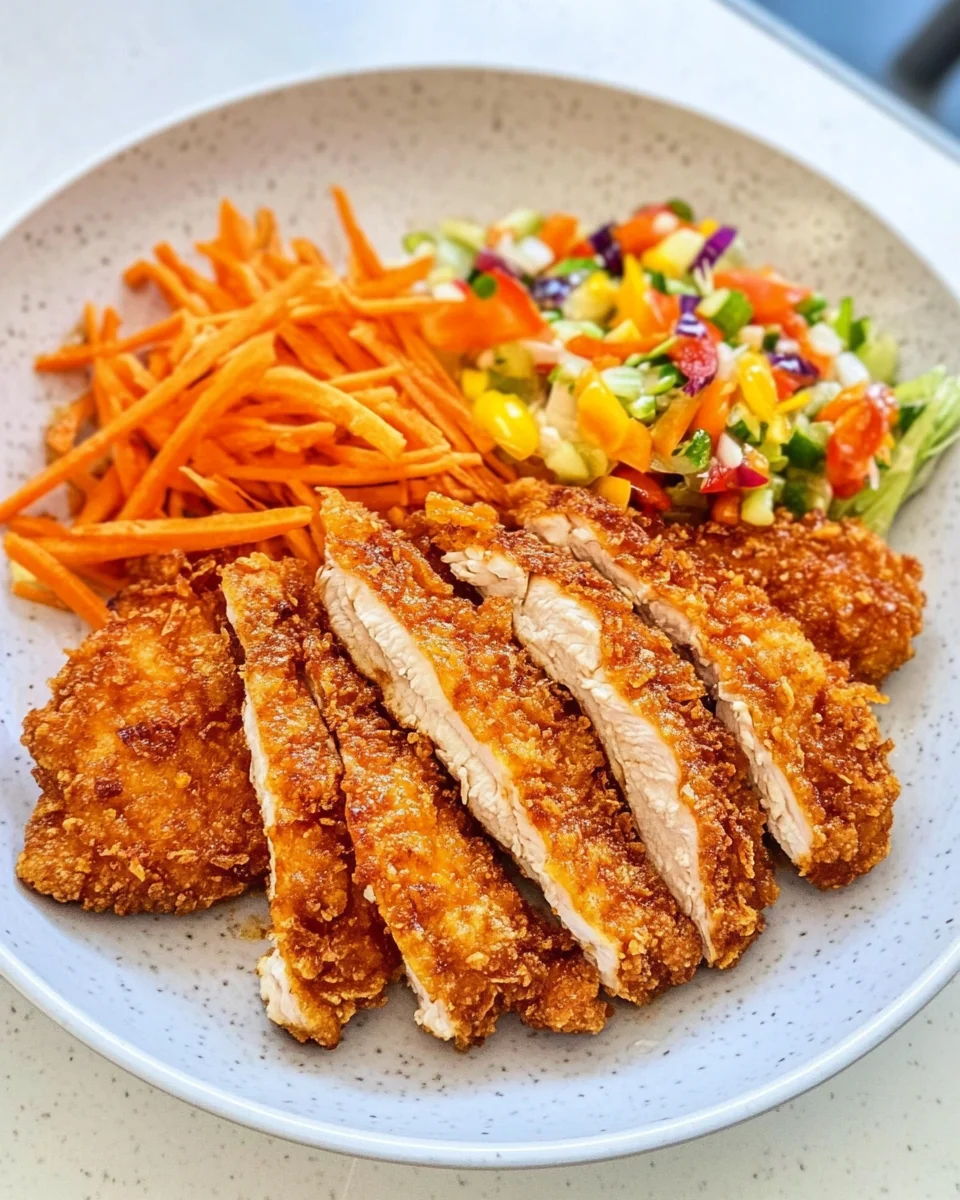
- Allow the chicken to rest for a few minutes before slicing it into strips. This will help the juices redistribute throughout the meat and enhance its tenderness.
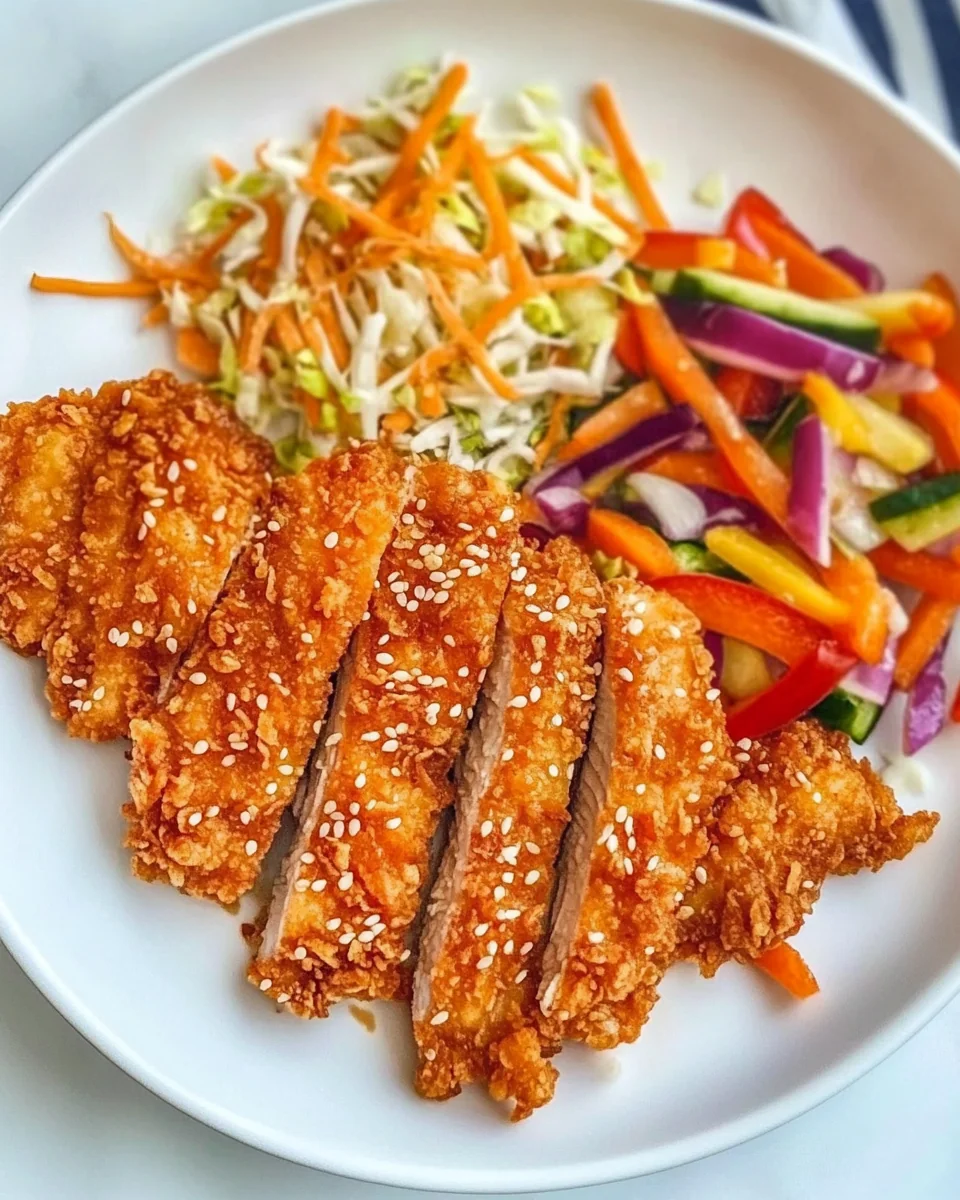
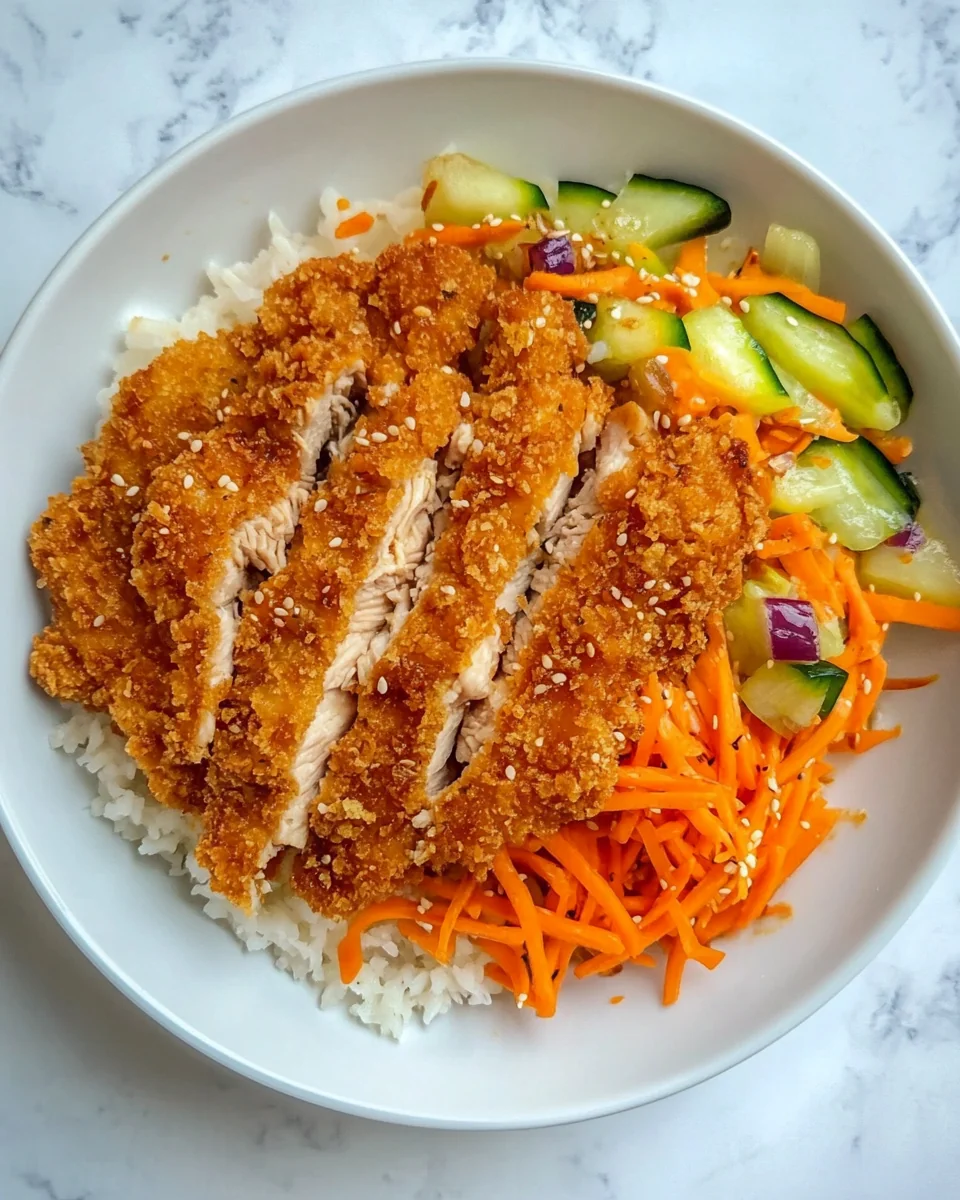
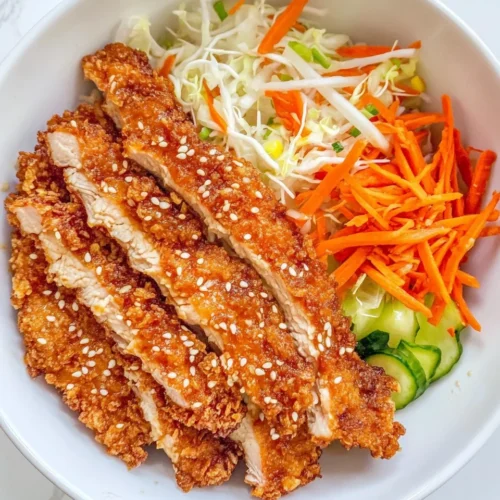
- Serve your Delicious Homemade Kimchi Chicken Katsu hot, garnished with chopped green onions or sesame seeds if desired. Pair with rice, a salad, or your favorite dipping sauce for a complete meal.
Tips for Variations:
There are countless ways to put a unique spin on this Delicious Homemade Kimchi Chicken Katsu recipe. Here are some creative ideas:
- For a spicier kick, consider adding gochujang, a Korean chili paste, to the marinade with the kimchi. This will enhance the heat and deepen the flavor profile.
- If you want to add more veggies to your dish, try incorporating finely shredded carrots or napa cabbage into the kimchi mixture. This not only adds nutrition but also provides extra crunch.
- For a gluten-free version of Delicious Homemade Kimchi Chicken Katsu, substitute the all-purpose flour with a gluten-free flour blend and use gluten-free panko breadcrumbs. This allows those with dietary restrictions to enjoy this dish without compromising on taste.
- Experiment with different types of chicken, such as chicken thighs instead of breasts, for a juicier result. Thighs have more fat, which can add richness to your katsu.
- Consider serving the chicken katsu with a tangy dipping sauce made from mayonnaise mixed with a bit of kimchi juice for a creamy complement to the crispy chicken.
- If you’re looking for a healthier alternative, try baking the breaded chicken instead of frying. Place the coated chicken on a baking sheet and spray lightly with cooking oil, then bake at 400°F (200°C) for about 20-25 minutes.
- For a fusion twist, serve Delicious Homemade Kimchi Chicken Katsu in a sandwich with pickled vegetables and spicy mayo, creating a unique take on a classic katsu sando.
- Add a drizzle of sesame oil over the finished dish to give it an aromatic touch that enhances the overall flavor.
Serving Suggestions:
Serving Delicious Homemade Kimchi Chicken Katsu can be as creative as the recipe itself. Here are some ideas to elevate your meal:
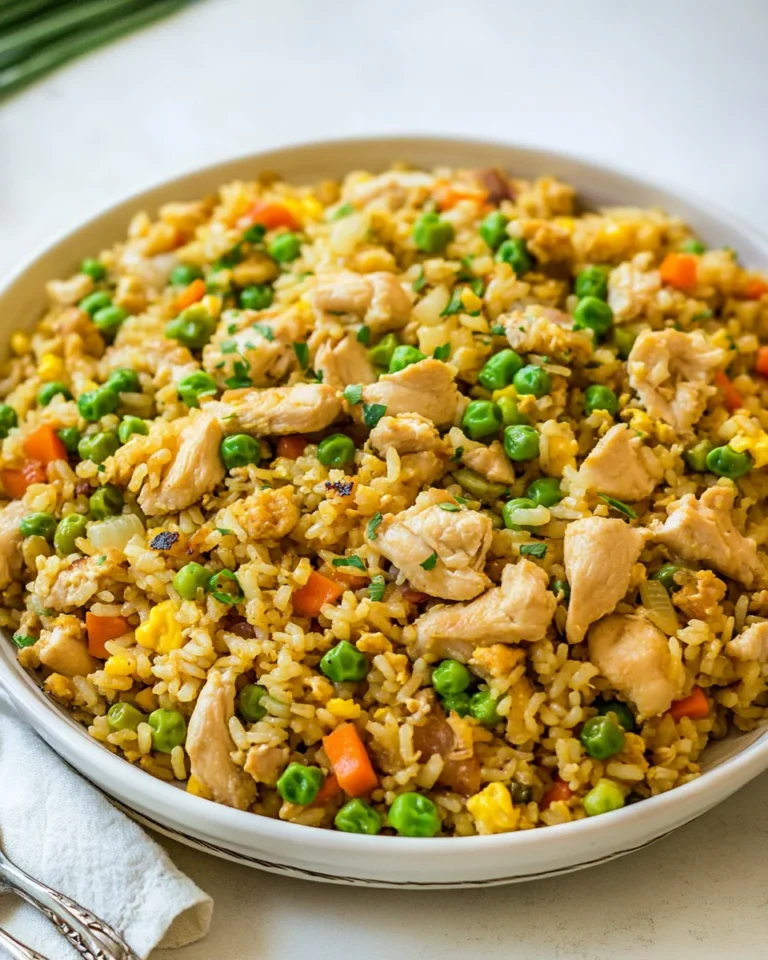
- Pair the chicken katsu with a side of steamed jasmine rice or sticky rice. The rice acts as a wonderful base to soak up the flavors and complements the dish beautifully.
- Consider serving it alongside a fresh salad of mixed greens, cucumbers, and a light sesame dressing. This adds a refreshing contrast to the crispy chicken.
- For a hearty meal, serve the katsu with a bowl of miso soup, which offers a warm, comforting element that balances the dish’s crunchiness.
- If you’re hosting guests for special occasions like Ramadan or family dinners, present the chicken katsu on a large platter with colorful garnishes for an inviting appearance.
- To store leftovers, allow the chicken to cool completely before placing it in an airtight container. It can be kept in the refrigerator for up to three days. To reheat, place it in an oven to retain its crispiness.
- Seasonal pairings can enhance the meal; in the summertime, serve with grilled corn on the cob, and in the cooler months, opt for roasted vegetables to round out the plate.
- For a fun twist, serve the chicken katsu in a bento box with a variety of sides, such as pickled vegetables, edamame, and fruit slices, making it an appealing lunch option.
- For a quick snack or appetizer, cut the chicken katsu into smaller pieces and serve with dipping sauces like sweet chili sauce or a spicy mayo for a delightful bite-sized treat.
FAQ:
How do I store leftovers?
To store leftovers of Delicious Homemade Kimchi Chicken Katsu, let the chicken cool completely, then place it in an airtight container. Store it in the refrigerator for up to three days. Reheat in an oven to keep the coating crispy.
Can I freeze this recipe?
Yes, you can freeze Delicious Homemade Kimchi Chicken Katsu. Once cooked and cooled, place the chicken in freezer-safe bags or containers. It can be frozen for up to two months. Reheat straight from the freezer for best results.
Can I use other proteins for this recipe?
Absolutely! While chicken is the traditional choice, you can adapt Delicious Homemade Kimchi Chicken Katsu using turkey or even tofu for a vegetarian version. Each protein will bring its unique texture and flavor.
What dipping sauces pair well with this dish?
Several dipping sauces complement Delicious Homemade Kimchi Chicken Katsu. A mix of mayonnaise and kimchi juice creates a creamy dip, or you can use sweet chili sauce for a spicy kick. Soy sauce or teriyaki sauce also make excellent choices.
How can I enhance the kimchi flavor?
To intensify the kimchi flavor in Delicious Homemade Kimchi Chicken Katsu, consider adding a touch of gochujang to the marinade. This will amplify the spice and depth of flavor, making the dish even more memorable.
Delicious Homemade Kimchi Chicken Katsu
Equipment
- Mixing Bowl
- Meat Mallet
- Skillet
- Shallow Dishes
Ingredients
Main Ingredients
- 1 pound Boneless, Skinless Chicken Breasts Pounded to an even thickness for uniform cooking.
- 1 cup Kimchi Chopped into small bits.
- 1 cup Panko Breadcrumbs For a crispy coating.
- ½ cup All-Purpose Flour Helps breadcrumbs adhere to chicken.
- 2 large Eggs Beaten for the breading process.
- ½ teaspoon Salt Season to taste.
- 1 pinch Pepper Season to taste.
- ½ cup Vegetable Oil For frying.
Optional Garnishes
- Chopped Green Onions For garnish.
- Sesame Seeds For garnish.
Instructions
- 1. Begin by preparing the chicken breasts. Place each chicken breast between two sheets of plastic wrap and pound it to an even thickness of about ½ inch using a meat mallet.
- 2. Season both sides of the chicken breasts with salt and pepper.
- 3. Mix the chopped kimchi with the chicken in a bowl and marinate for at least 15 minutes.
- 4. Set up your breading station with flour, beaten eggs, and panko breadcrumbs in separate shallow dishes.
- 5. Remove the chicken from the kimchi, letting excess liquid drip off. Dredge each chicken breast in flour.
- 6. Dip the floured chicken into the beaten eggs, ensuring it is fully coated.
- 7. Coat the chicken with panko breadcrumbs, pressing down gently for good coverage.
- 8. Heat vegetable oil in a large skillet over medium-high heat and add the coated chicken breasts.
- 9. Cook for about 4-5 minutes on each side until golden brown and cooked through.
- 10. Transfer cooked chicken to a paper towel-lined plate to absorb excess oil.
- 11. Allow the chicken to rest for a few minutes before slicing into strips.
- 12. Serve hot, garnished with green onions or sesame seeds, with rice or salad.