Homemade Marshmallows
Creating homemade marshmallows is a culinary adventure that takes you beyond the store-bought variety, transforming simple ingredients into fluffy clouds of sweetness. The process is surprisingly straightforward, yet it yields a product that is far superior in flavor and texture. Whether you’re planning a cozy evening by the fireplace, preparing for a hot chocolate party, or simply indulging your sweet tooth, these marshmallows will elevate your experience. Picture the joy of biting into a soft, chewy marshmallow that melts in your mouth, leaving a trace of sweetness that lingers on your palate. This recipe will guide you through each step, ensuring that your homemade marshmallows come out perfectly every time. With a little patience and attention, you will be rewarded with a treat that can be customized to suit your tastes and preferences.
Why You’ll Love This Recipe?
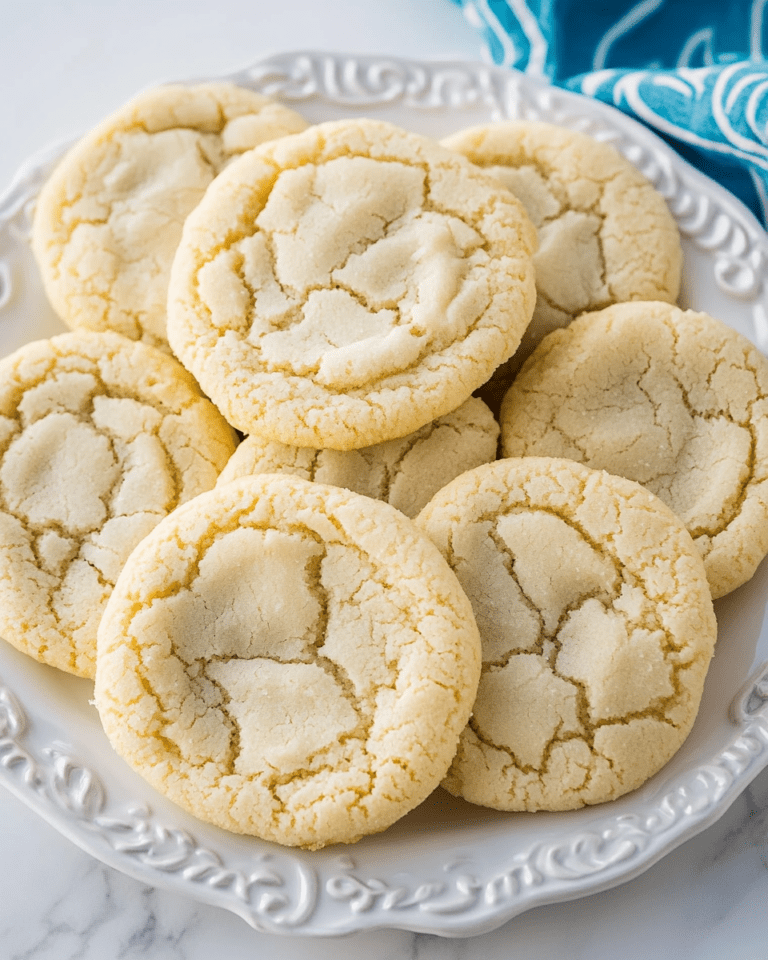
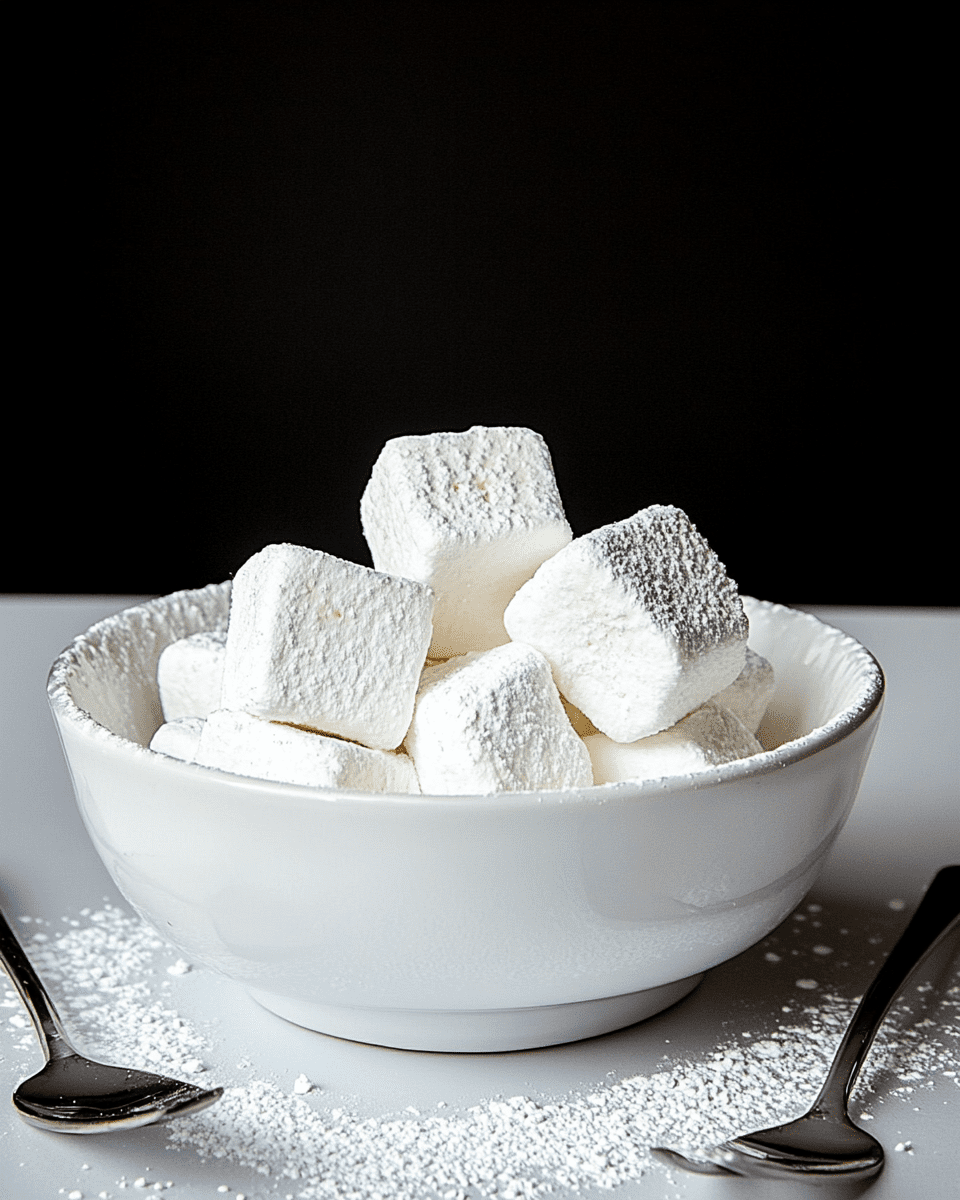
There are countless reasons to adore homemade marshmallows, starting with their exceptional taste. Unlike store-bought versions, which can often have a synthetic flavor, homemade marshmallows are rich, sweet, and incredibly satisfying. You can control the sweetness and adjust the flavors to your liking, making them a truly personalized treat. Another standout feature of this recipe is its simplicity. With just a handful of ingredients and straightforward steps, you’ll find that the process is not only enjoyable but also accessible for cooks of all skill levels. Finally, the appearance of homemade marshmallows is simply charming. Their fluffy texture and soft, pillowy shape make them an attractive addition to any dessert table or snack platter. Whether served plain, dusted with powdered sugar, or dipped in chocolate, they are sure to impress your family and friends.
Ingredients:
To make your own homemade marshmallows, gather the following ingredients:
- Granulated Sugar: 2 cups – This is the primary sweetener and contributes to the marshmallow’s structure.
- Light Corn Syrup: 1 cup – This helps prevent the sugar from crystallizing, ensuring a smooth texture.
- Water: 1 cup – Used to dissolve the sugar and corn syrup, it also provides moisture to the marshmallow mixture.
- Unflavored Agar-Agar Powder: 2 tablespoons – This vegan alternative to gelatin is what gives the marshmallows their structure and chewiness.
- Powdered Sugar: 1 cup – This is used for dusting and prevents the marshmallows from sticking together.
- Salt: 1/4 teaspoon – A small amount enhances the overall flavor of the marshmallows.
- Vanilla Extract: 1 tablespoon – This adds a warm, inviting flavor that complements the sweetness.
- Optional Flavorings: Various extracts or flavor oils can be used, such as almond, coconut, or peppermint, for a unique twist.
- Optional Food Coloring: A few drops, if you wish to create colorful marshmallows for special occasions.
Before you begin, prepare your workspace by ensuring that all your tools and utensils are clean and ready to use. You will need a large mixing bowl, a saucepan, a whisk or electric mixer, and an 8×8 inch baking dish lined with parchment paper for easy removal of the marshmallows. Make sure to have a candy thermometer on hand, as monitoring the temperature is crucial for achieving the right consistency.
How To Make Homemade Marshmallows?
Now that you have your ingredients ready, it’s time to dive into the process of making homemade marshmallows. Follow these detailed steps to create your sweet treat:
- Prepare the Baking Dish: Start by lining your 8×8 inch baking dish with parchment paper, allowing some overhang on the sides for easy removal later. Lightly dust the bottom and sides with powdered sugar to prevent sticking.
- Combine Sugar and Corn Syrup: In a medium saucepan, combine the granulated sugar, light corn syrup, and water. Stir gently until the sugar is mostly dissolved.
- Heat the Mixture: Place the saucepan over medium heat and attach a candy thermometer to the side. Allow the mixture to boil without stirring until it reaches 240°F (115°C), known as the soft ball stage. This step is critical for achieving the perfect marshmallow texture.
- Prepare the Agar-Agar: While the sugar mixture is heating, combine the agar-agar powder with 1/2 cup of cold water in a separate small saucepan. Stir well and let it sit for about 5 minutes to bloom.
- Heat the Agar-Agar: Place the small saucepan over medium heat and bring the mixture to a boil, stirring constantly. Once boiling, reduce the heat and let it simmer for about 5 minutes until it thickens. Remove from heat and set aside.
- Combine Mixtures: Once the sugar mixture reaches 240°F, remove it from the heat and carefully pour it into the large mixing bowl. Allow it to cool for about 5 minutes.
- Add Agar-Agar and Flavoring: Gradually add the prepared agar-agar to the sugar mixture while mixing on low speed with an electric mixer. Once combined, add the salt and vanilla extract. Increase the mixer speed to high and beat for about 10-12 minutes, or until the mixture becomes thick, fluffy, and triples in volume.
- Transfer to Baking Dish: Quickly pour the marshmallow mixture into the prepared baking dish. Use a spatula to smooth the top, ensuring an even surface. Dust the top with additional powdered sugar to prevent sticking.
- Set the Marshmallows: Allow the marshmallows to set at room temperature for at least 4 hours or overnight for best results. This resting period allows them to firm up and develop their signature texture.
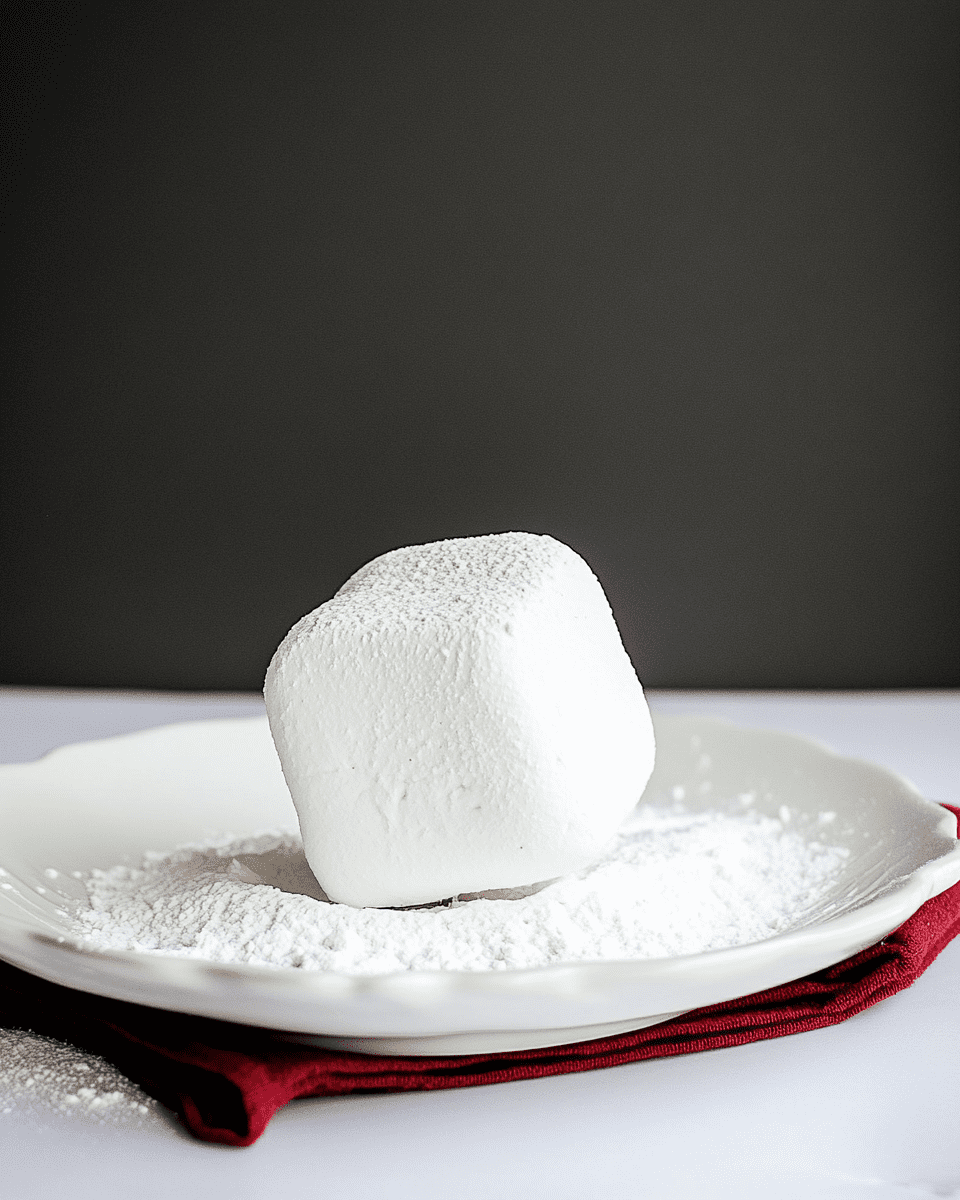
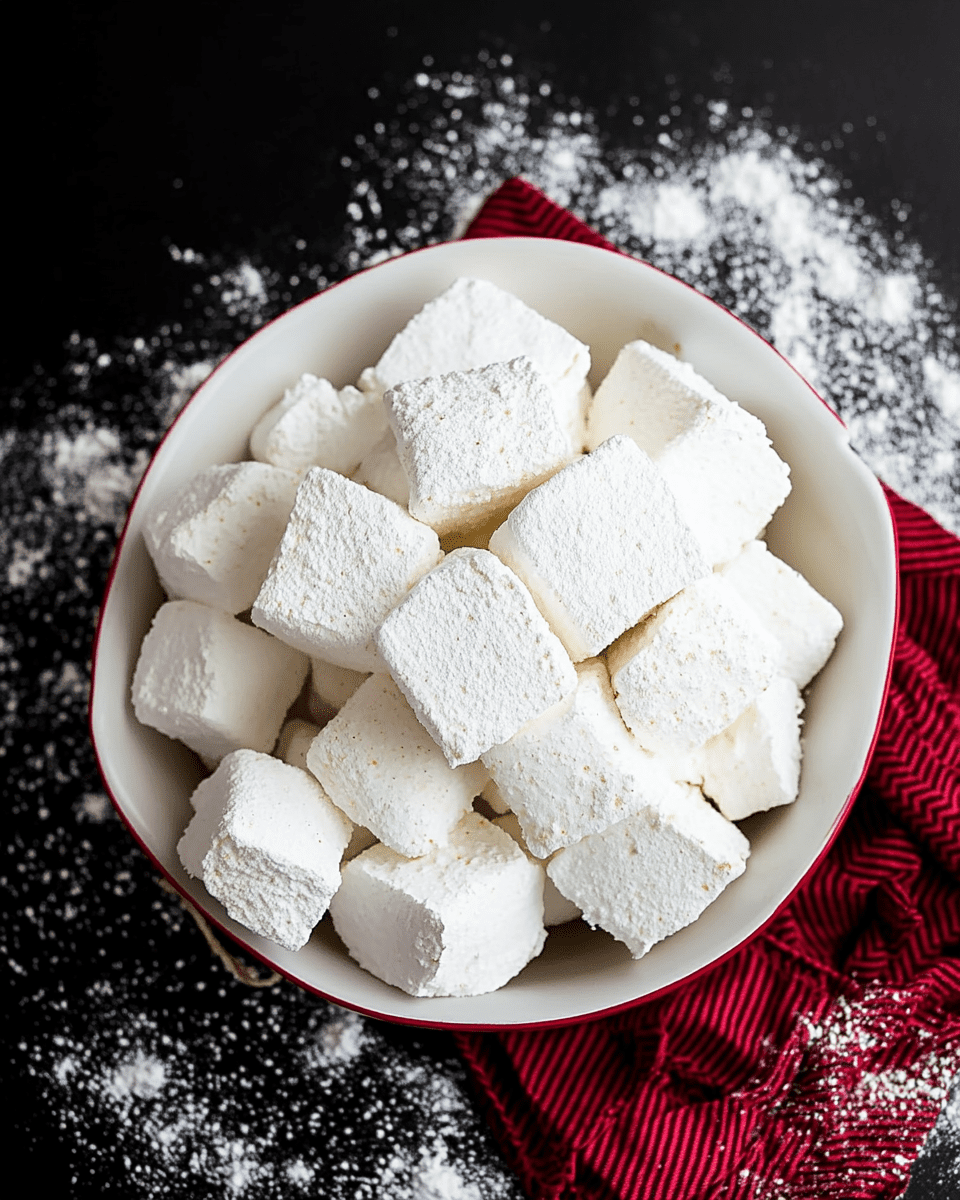
- Cut and Dust: Once set, use the parchment overhang to lift the marshmallows out of the dish. Cut them into squares or desired shapes using a sharp knife or pizza cutter. Dust each piece with powdered sugar to prevent sticking.
- Store Properly: Store the homemade marshmallows in an airtight container at room temperature for up to two weeks. Keep them dusted with powdered sugar to maintain their softness.
Tips For Variations:
Homemade marshmallows can be customized in numerous ways, allowing you to experiment with flavors, colors, and presentations. Here are some ideas to inspire your creativity:
- Flavor Infusions: Along with vanilla, consider adding other extracts to your marshmallows. Almond extract gives a nutty flavor, while peppermint extract can create a festive touch during the holidays. For a tropical vibe, coconut extract adds a delightful twist.
- Citrus Zest: Incorporate a teaspoon of finely grated lemon, lime, or orange zest into the mixture for a refreshing citrus flavor that pairs beautifully with the sweetness.
- Chocolate-Dipped Marshmallows: For a decadent treat, dip the cut marshmallows in melted chocolate. Allow the chocolate to set before serving. You can sprinkle crushed nuts, sprinkles, or coconut flakes on top for added texture and flavor.
- Colorful Marshmallows: Add a few drops of food coloring to the marshmallow mixture before whipping to create vibrant, colorful marshmallows. This is especially fun for parties or themed events.
- Marshmallow Swirls: For a visual delight, separate the marshmallow mixture into two bowls and tint each with different colors. Alternate spoonfuls of each color into the baking dish and use a toothpick to swirl them together for a marbled effect.
- Mini Marshmallows: If you prefer smaller marshmallows, simply pour the mixture into a larger baking dish or onto a baking sheet. After cutting into squares, you can enjoy mini marshmallows that are perfect for topping hot beverages or desserts.
- Flavored Sugar Coatings: Instead of using plain powdered sugar for dusting, consider mixing it with flavored powders, such as cocoa powder or cinnamon, for an extra layer of flavor.
Serving Suggestions:
- Hot Chocolate Toppers: The classic pairing of marshmallows and hot chocolate is always a winner. Float a few homemade marshmallows on top of your steaming mug of hot chocolate for a comforting treat. For an extra touch, drizzle with caramel or chocolate sauce.
- Gourmet S’mores: Elevate your s’mores by using homemade marshmallows instead of store-bought ones. Toast them over an open flame until golden brown, then sandwich between two graham crackers with a piece of your favorite chocolate.
- Ice Cream Sundaes: Add a handful of chopped homemade marshmallows to ice cream sundaes for a delightful chewy texture that complements the creaminess of the ice cream.
- Marshmallow Treats: Incorporate your marshmallows into rice cereal treats. Melt butter, add marshmallows, and stir in crispy rice cereal for a nostalgic dessert that everyone will love.
- Gift Packaging: Package your homemade marshmallows in a decorative box or jar to give as gifts. Tie with a ribbon for a personal touch. This makes for a thoughtful present for birthdays, holidays, or just to say thank you.
- Campfire Treats: Take your marshmallows camping and enjoy roasting them over the fire. The smoky flavor adds a unique twist that complements their sweetness.
FAQ:
Can I use this recipe to make flavored marshmallows?
Absolutely! You can easily customize your marshmallows by adding various extracts or flavor oils during the mixing process. Consider experimenting with almond, coconut, or peppermint flavors for a unique twist.
How do I store homemade marshmallows?
Store your homemade marshmallows in an airtight container at room temperature. They can last for up to two weeks, but be sure to dust them with powdered sugar to prevent sticking.
Can I use a different sweetener instead of sugar?
This recipe is designed specifically for granulated sugar. Using alternative sweeteners may alter the texture and final result. If you prefer a different sweetener, you might need to look for a recipe specifically designed for that.
Why did my marshmallows not set properly?
If your marshmallows are not setting correctly, it may be due to not reaching the proper temperature during the boiling process. Ensure you use a candy thermometer and follow the instructions closely to achieve the right consistency.
Can I freeze homemade marshmallows?
Yes, you can freeze homemade marshmallows! Just make sure to separate them with parchment paper and store them in an airtight container. Thaw them at room temperature before use for the best texture.