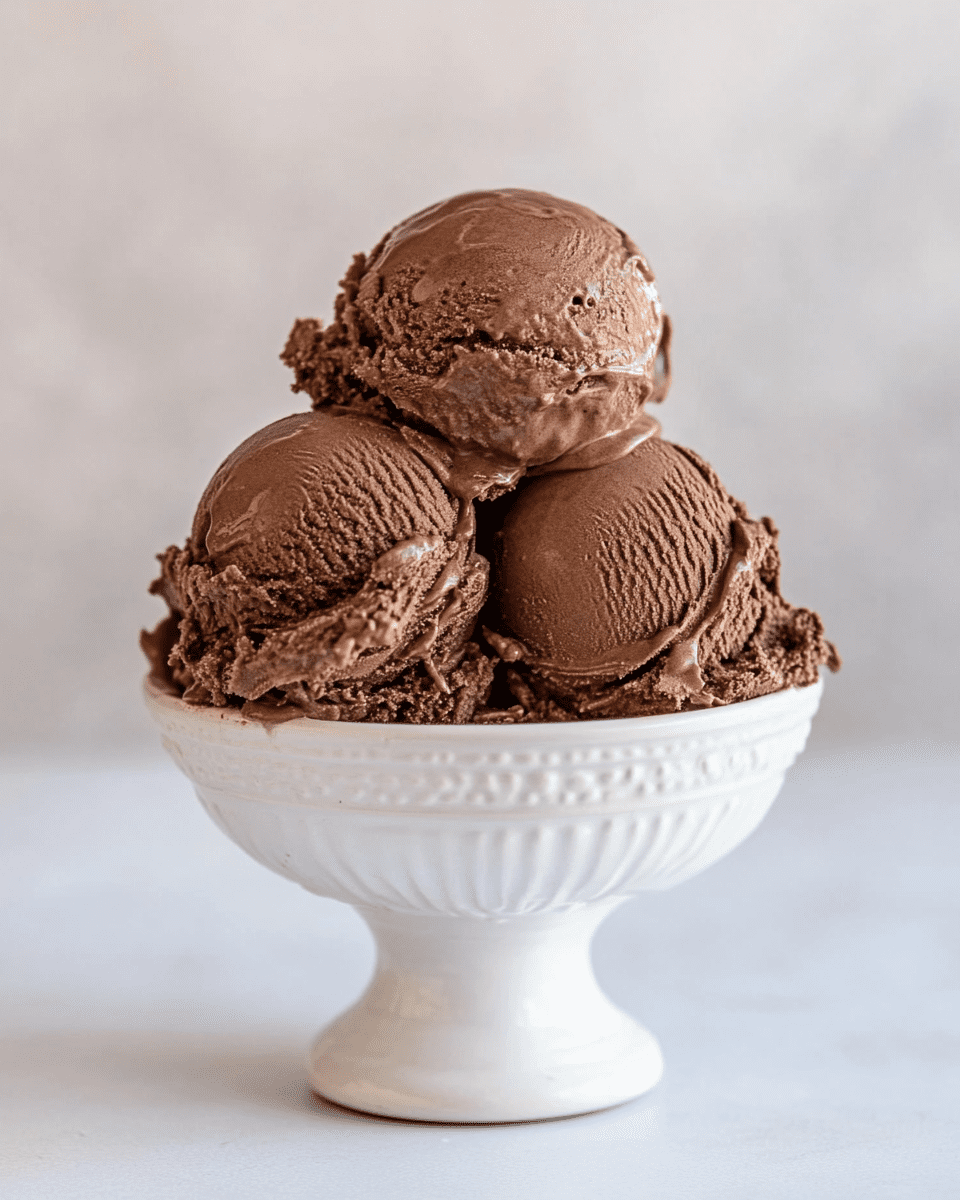
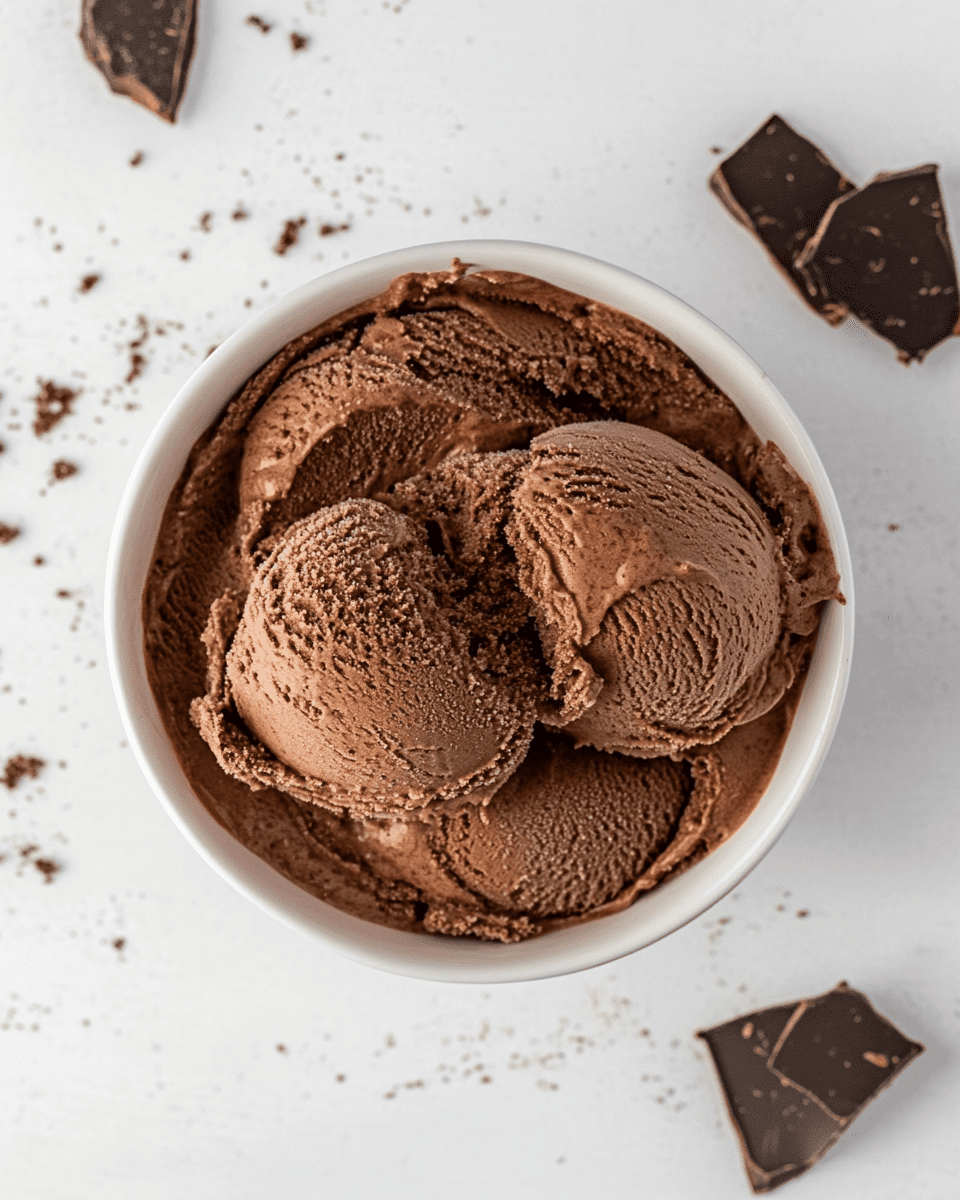
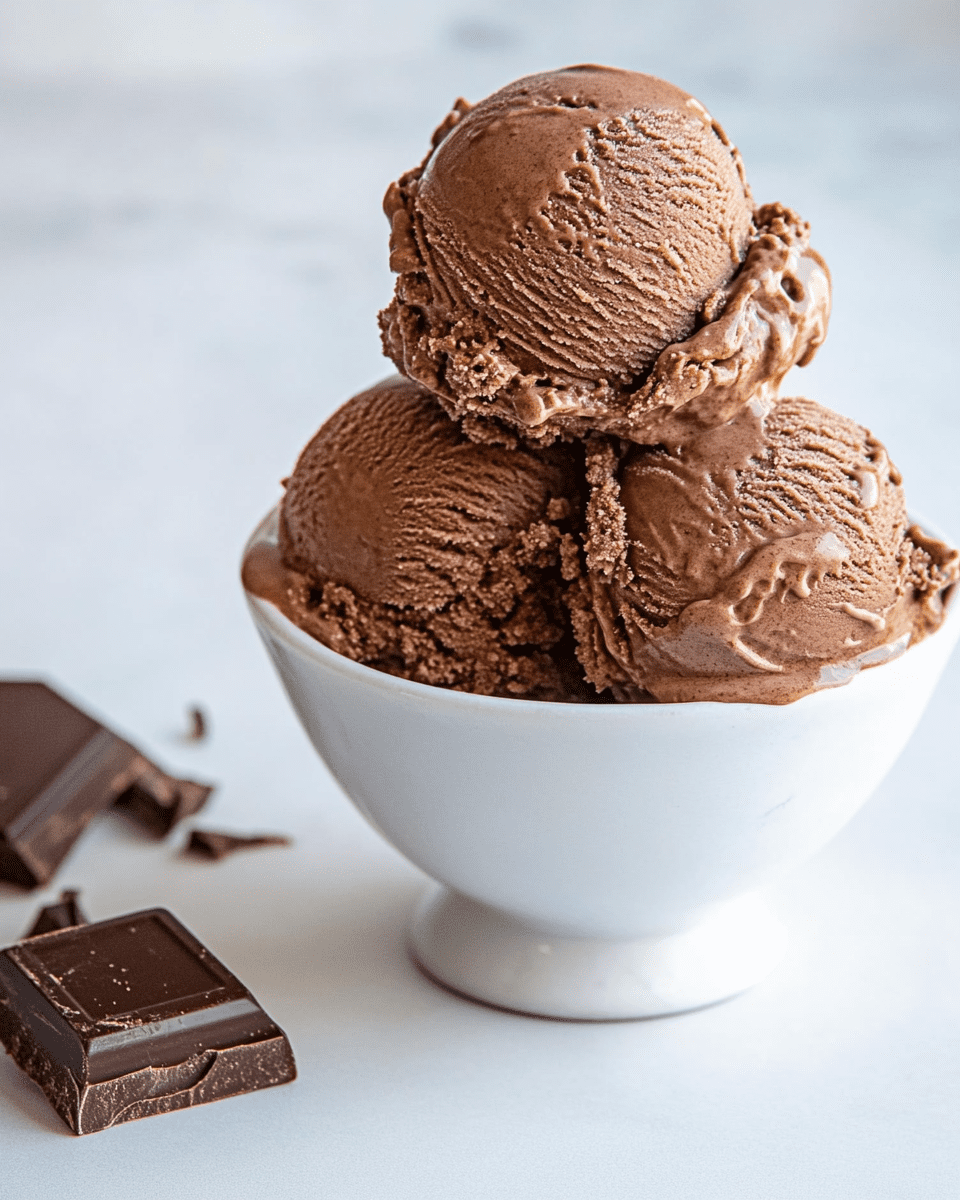
Homemade Chocolate Ice Cream
There’s nothing quite like the rich, smooth texture of homemade chocolate ice cream to transport you back to carefree summer days. The appeal of this frozen treat transcends age, making it a beloved dessert for both the young and the young at heart. Imagine indulging in a bowl of ice cream that boasts a deep, velvety chocolate flavor that melts in your mouth, with a creamy consistency that store-bought varieties often can’t match. Making chocolate ice cream at home not only allows you to control the ingredients and flavors but also provides an opportunity to craft a dessert that reflects your unique taste preferences. Whether you’re hosting a summer barbecue, celebrating a birthday, or simply treating yourself on a warm evening, this homemade chocolate ice cream is sure to impress. With its luxurious taste, simple preparation, and endless possibilities for serving, it’s a recipe you’ll return to time and again.
Why You’ll Love This Recipe?
There are countless reasons to fall in love with homemade chocolate ice cream, but a few stand out above the rest. First and foremost, the taste is unmatched. When you create your own chocolate ice cream, you have the freedom to select high-quality cocoa powder or rich dark chocolate, ensuring an intense chocolate flavor that can be tailored to your liking. Additionally, the preparation process is surprisingly straightforward. With just a few basic ingredients and a bit of patience, you can whip up a batch that rivals any ice cream shop’s offering. Finally, the visual appeal of homemade chocolate ice cream is something to behold. When served in a bowl or cone, the glossy sheen of the chocolate ice cream, perhaps garnished with chocolate shavings or fresh berries, makes for an impressive dessert that’s guaranteed to catch the eye. These factors combine to create not just a delicious treat, but a delightful experience that you’ll want to share with friends and family.
Ingredients:
To create the ultimate homemade chocolate ice cream, gather the following ingredients, ensuring they are of the highest quality for the best results. Here’s a detailed list with measurements and descriptions:
- 2 cups heavy cream: This is essential for a rich and creamy base. The high fat content in heavy cream is key to achieving that smooth texture.
- 1 cup whole milk: Whole milk adds a nice creaminess and balances the richness of the cream, creating a luscious ice cream.
- 3/4 cup granulated sugar: Sugar sweetens the mixture and helps improve the texture by lowering the freezing point.
- 1 cup unsweetened cocoa powder: Choose a high-quality cocoa powder for an intense chocolate flavor. Dutch-processed cocoa will yield a smoother taste.
- 1 teaspoon pure vanilla extract: While this may seem counterintuitive in a chocolate ice cream recipe, vanilla enhances the overall flavor profile beautifully.
- 1/2 cup semi-sweet chocolate chips: These add delightful little bursts of chocolate throughout the creamy base, enhancing both the texture and flavor.
- 1/4 teaspoon salt: A pinch of salt is crucial; it balances sweetness and elevates the chocolate flavor.
Before you start, ensure all your ingredients are at room temperature. This helps the mixture blend more smoothly, creating a base that’s ready for churning. The combination of these ingredients will result in a chocolate ice cream that is not only delicious but also has a luxurious mouthfeel that is hard to resist.
How To Make Homemade Chocolate Ice Cream?
Creating your own chocolate ice cream at home is a rewarding process that yields a delightful dessert. Follow these detailed step-by-step instructions to make your own batch:
- Prepare the base: In a medium-sized mixing bowl, combine the unsweetened cocoa powder and granulated sugar. Whisk them together until they are well blended. This step ensures that the cocoa is evenly distributed throughout the sugar.
- Add the liquids: Gradually pour in the heavy cream and whole milk to the cocoa and sugar mixture. Whisk continuously until the mixture is smooth and free of lumps. This may take a few minutes to ensure that the cocoa powder is fully dissolved.
- Incorporate the vanilla: Add the pure vanilla extract and salt to the mixture, whisking until everything is well combined. The vanilla will enhance the chocolate flavor and add depth to the ice cream.
- Chill the mixture: Cover the bowl with plastic wrap or a lid and place it in the refrigerator for at least 2 hours, or overnight if possible. Chilling the mixture allows the flavors to meld and results in a smoother texture.
- Churn the ice cream: Once your mixture has chilled, pour it into your ice cream maker. Churn according to the manufacturer’s instructions, usually for about 20-25 minutes, until it reaches a soft-serve consistency.
- Add chocolate chips: During the last few minutes of churning, add the semi-sweet chocolate chips. This ensures they are evenly distributed throughout the ice cream without melting.
- Freeze the ice cream: Transfer the churned ice cream to an airtight container. Smooth the top with a spatula, then cover with a lid or plastic wrap. Freeze for at least 4 hours to firm up the ice cream further.
- Serve and enjoy: Once fully frozen, scoop out your homemade chocolate ice cream into bowls or cones and enjoy the rich, creamy texture and deep chocolate flavor.
Homemade chocolate ice cream is best enjoyed within a week or two of making it, but it can last in the freezer for up to a month. Just make sure to keep it tightly sealed to prevent freezer burn. The process may seem lengthy, but the result is well worth the wait!
Tips For Variations:
While the classic chocolate ice cream is undeniably delicious, there are numerous ways to customize this recipe to suit your taste or to experiment with different flavors and textures. Here are some unique variations to consider:
- Dark chocolate ice cream: For an even richer flavor, use dark chocolate instead of cocoa powder. Melt 8 ounces of dark chocolate and mix it with the cream and milk for a decadent treat.
- Mint chocolate chip: Add a few drops of mint extract to your mixture before churning for a refreshing mint chocolate experience. You can also add crushed mint candies or chocolate mint chips for extra texture.
- Chocolate peanut butter swirl: After churning the ice cream, swirl in a generous spoonful of peanut butter for a creamy, nutty flavor that pairs beautifully with chocolate.
- Chocolate raspberry ice cream: Fold in fresh or frozen raspberries during the last few minutes of churning. The tartness of the raspberries complements the chocolate beautifully.
- Cookie dough chocolate ice cream: Incorporate small chunks of edible cookie dough into the churned ice cream for a delightful mix of flavors and textures.
These variations not only allow you to enjoy different tastes but also enable you to experiment with what you have on hand. You can easily adjust the recipe based on seasonal ingredients or personal preferences, making it a versatile treat for any occasion.
Serving Suggestions:

When it comes to serving your homemade chocolate ice cream, creativity can elevate the experience and make it even more enjoyable. Here are some detailed and enticing serving suggestions:
- Classic cones: Serve your chocolate ice cream in waffle cones for a nostalgic experience. Drizzle with chocolate syrup and sprinkle with chopped nuts or mini chocolate chips for added texture and flavor.
- Ice cream sundaes: Create indulgent sundaes by layering scoops of chocolate ice cream in a bowl, topping with whipped cream, chocolate syrup, and cherries. Add crushed cookies or brownies for a delightful crunch.
- Milkshakes: Blend a few scoops of chocolate ice cream with milk for a rich milkshake. Top with whipped cream and chocolate shavings for an extra touch of indulgence.
- Affogato: Pour a shot of hot espresso over a scoop of chocolate ice cream for a luxurious dessert that combines hot and cold elements. The warmth of the espresso melts the ice cream slightly, creating a delightful mix.
- Chocolate ice cream sandwiches: Use soft chocolate chip cookies or brownies to make ice cream sandwiches. Place a scoop of chocolate ice cream between two cookies and roll the edges in mini chocolate chips.
These creative serving suggestions not only enhance the enjoyment of your homemade chocolate ice cream but also provide opportunities to impress your guests with your culinary flair. Each presentation can be as simple or elaborate as you like, making it easy to adapt to any occasion.
FAQ:
Can I use a different type of milk for this recipe?
While whole milk and heavy cream are recommended for their creaminess, you can experiment with alternatives like almond milk or coconut milk. Keep in mind that the texture and flavor may vary significantly.
How do I store leftover ice cream?
To store leftover chocolate ice cream, transfer it to an airtight container and keep it in the freezer. Ensure it is tightly sealed to prevent ice crystals from forming and to maintain its texture.
Why is my ice cream icy instead of creamy?
If your ice cream turns out icy, it may be due to insufficient churning time or not enough fat in the mixture. Ensure you churn long enough and use the right ratios of cream and milk for a smoother texture.
Can I make this recipe without an ice cream maker?
Yes, you can make chocolate ice cream without an ice cream maker. Pour the mixture into a shallow dish and freeze it, stirring every 30 minutes for the first few hours to break up ice crystals until it reaches the desired consistency.
How long does homemade chocolate ice cream last?
Homemade chocolate ice cream is best enjoyed within 1-2 weeks for optimal flavor and texture. It can last up to a month if stored properly in an airtight container.