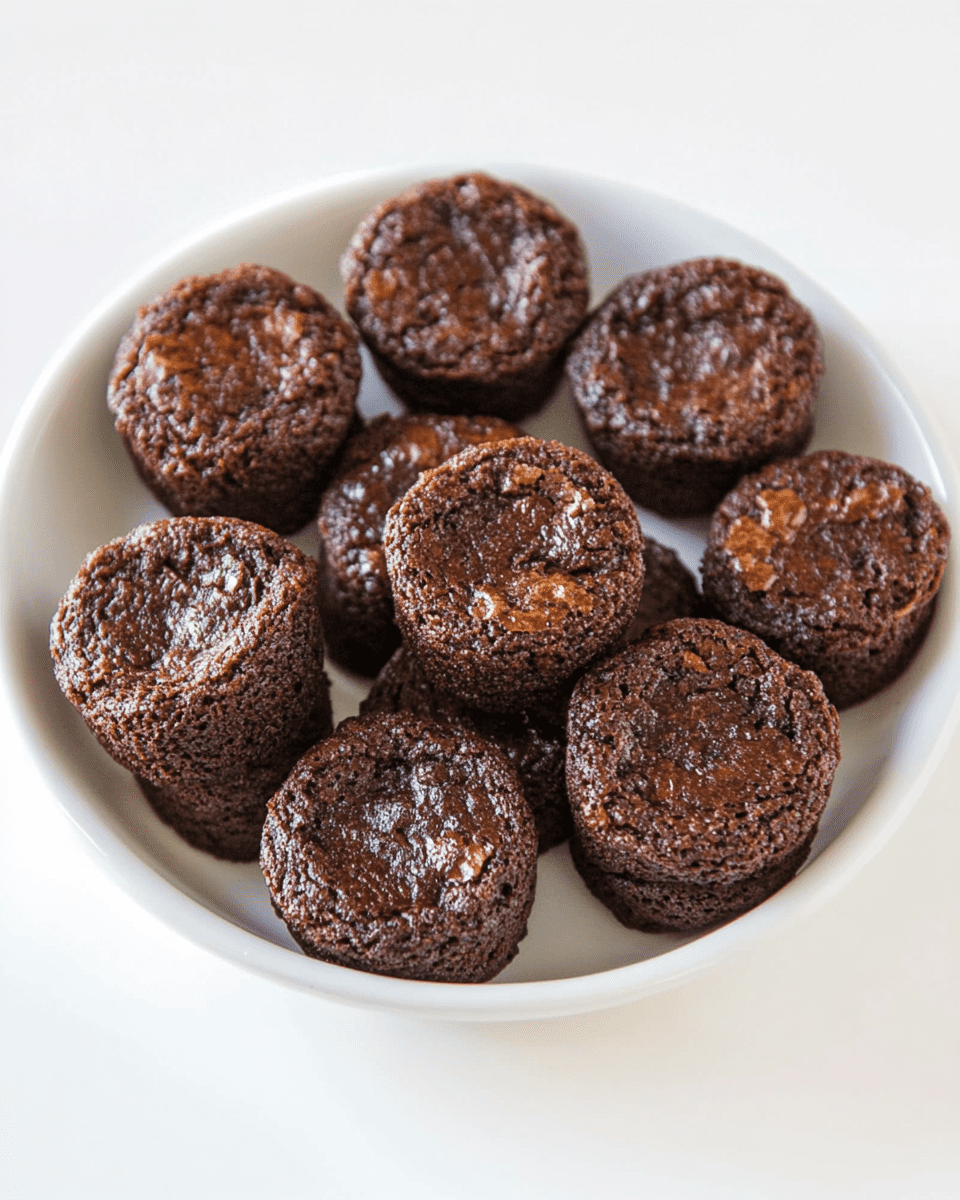
Brownie Bites
Brownie bites are miniature indulgences that pack a powerful punch of chocolatey goodness in every single morsel. If you’re a fan of rich, fudgy brownies but prefer a more manageable size, these brownie bites are the perfect solution. They combine the luscious texture of classic brownies with the fun and convenience of bite-sized treats, making them ideal for parties, snacks, or just a little something sweet to brighten your day. The simplicity of making brownie bites is equally appealing; they come together quickly and require minimal effort, allowing you to enjoy the rewards without the extensive prep time. Plus, their bite-sized nature means you can enjoy them without the guilt of having a large portion—though, let’s be honest, it’s hard to stop at just one! With a variety of options for toppings and mix-ins, you can easily customize these brownie bites to suit your taste preferences or special occasions. Let’s dive into how to create these irresistible treats that will leave everyone reaching for just one more!
Why You’ll Love This Recipe?
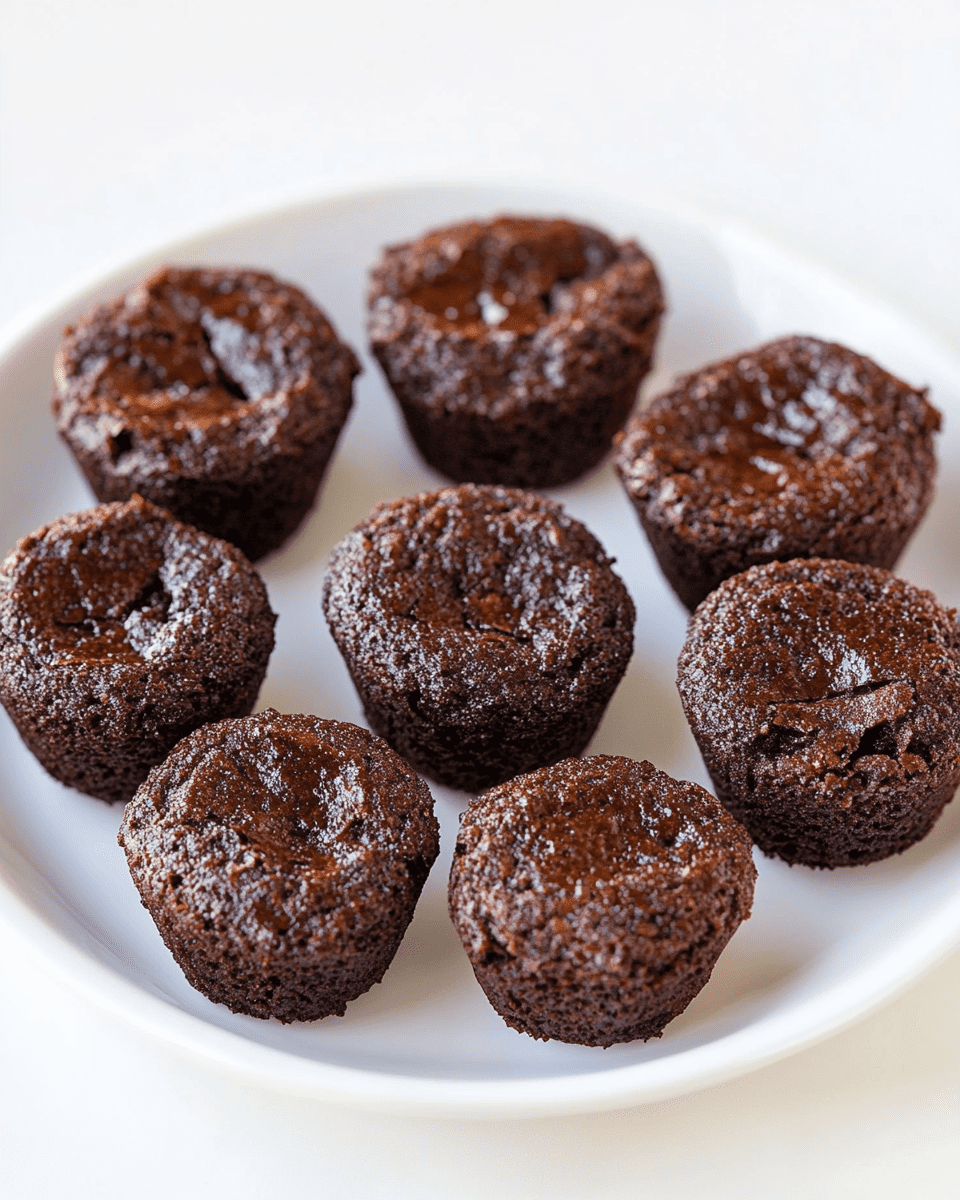
This brownie bites recipe is a true winner for numerous reasons. First and foremost, the taste is exceptional. They are rich, fudgy, and packed with a deep chocolate flavor that satisfies even the most intense cravings. The texture strikes a perfect balance between chewy and soft, making each bite an experience to savor. Secondly, the preparation is incredibly easy. With just a handful of ingredients and minimal steps, you can whip up a batch in no time. This means more time enjoying your treats and less time in the kitchen. Furthermore, the presentation is delightful; these brownie bites can be dressed up or down, making them suitable for casual snacking or elegant dessert tables. Whether you choose to serve them plain, dusted with powdered sugar, or topped with chocolate ganache, they are sure to impress. Lastly, their small size makes them perfect for sharing. You can easily portion them out for gatherings, celebrations, or simply to have on hand for a sweet treat whenever the mood strikes. It’s the perfect combination of flavor, ease, and versatility that makes this recipe a must-try!
Ingredients:
To create the perfect brownie bites, you will need a selection of quality ingredients that work harmoniously together to produce rich flavor and delightful texture. Below is a comprehensive list of what you’ll need, along with measurements and descriptions to help you pick the best options for your brownie bites:
- 1 cup granulated sugar: This provides sweetness and helps achieve that chewy texture we love in brownies.
- 1/2 cup brown sugar: The addition of brown sugar enhances the depth of flavor, giving a slight caramel note that complements the chocolate.
- 1/2 cup unsalted butter: Melted butter creates a fudgy consistency and rich flavor. Ensure it’s unsalted to maintain control over the overall saltiness.
- 2 large eggs: Eggs contribute to the structure and moisture of the brownie bites, ensuring they hold together beautifully.
- 1 teaspoon pure vanilla extract: This adds a warm, aromatic note that enhances the chocolate flavor.
- 1/2 cup all-purpose flour: This is the base of the brownie bites. It provides structure without making them cakey.
- 1/3 cup unsweetened cocoa powder: Quality cocoa powder is essential for rich chocolate flavor. Use a high-quality brand for the best results.
- 1/4 teaspoon salt: Salt balances the sweetness and enhances the chocolate flavor, making it more pronounced.
- 1/2 cup chocolate chips or chunks: Optional but recommended, these add bursts of melty chocolate in every bite, enhancing the overall experience.
How To Make Brownie Bites?
Creating brownie bites is straightforward and can be accomplished in a few simple steps. Follow this detailed guide to ensure perfect results every time:
- Preheat the oven: Start by preheating your oven to 350°F (175°C). This ensures your brownie bites bake evenly from the moment they go in.
- Prepare the baking pan: Grease a mini muffin tin or line it with mini muffin liners. This will make it easy to remove the brownie bites after baking.
- Melt the butter: In a medium saucepan over low heat, melt the unsalted butter. Remove it from heat once fully melted and let it cool slightly.
- Mix sugars with butter: In a large mixing bowl, combine the granulated sugar and brown sugar with the melted butter. Stir until well combined and the mixture is smooth.
- Add eggs and vanilla: Beat in the eggs one at a time, mixing well after each addition. Then stir in the vanilla extract until fully incorporated.
- Combine dry ingredients: In a separate bowl, whisk together the all-purpose flour, cocoa powder, and salt. This helps to evenly distribute the dry ingredients.
- Incorporate dry into wet: Gradually add the dry mixture into the wet mixture, stirring gently. Mix just until combined; be careful not to overmix, as this can affect the texture.
- Add chocolate chips: If you’re using chocolate chips or chunks, fold them into the batter at this stage for added richness.
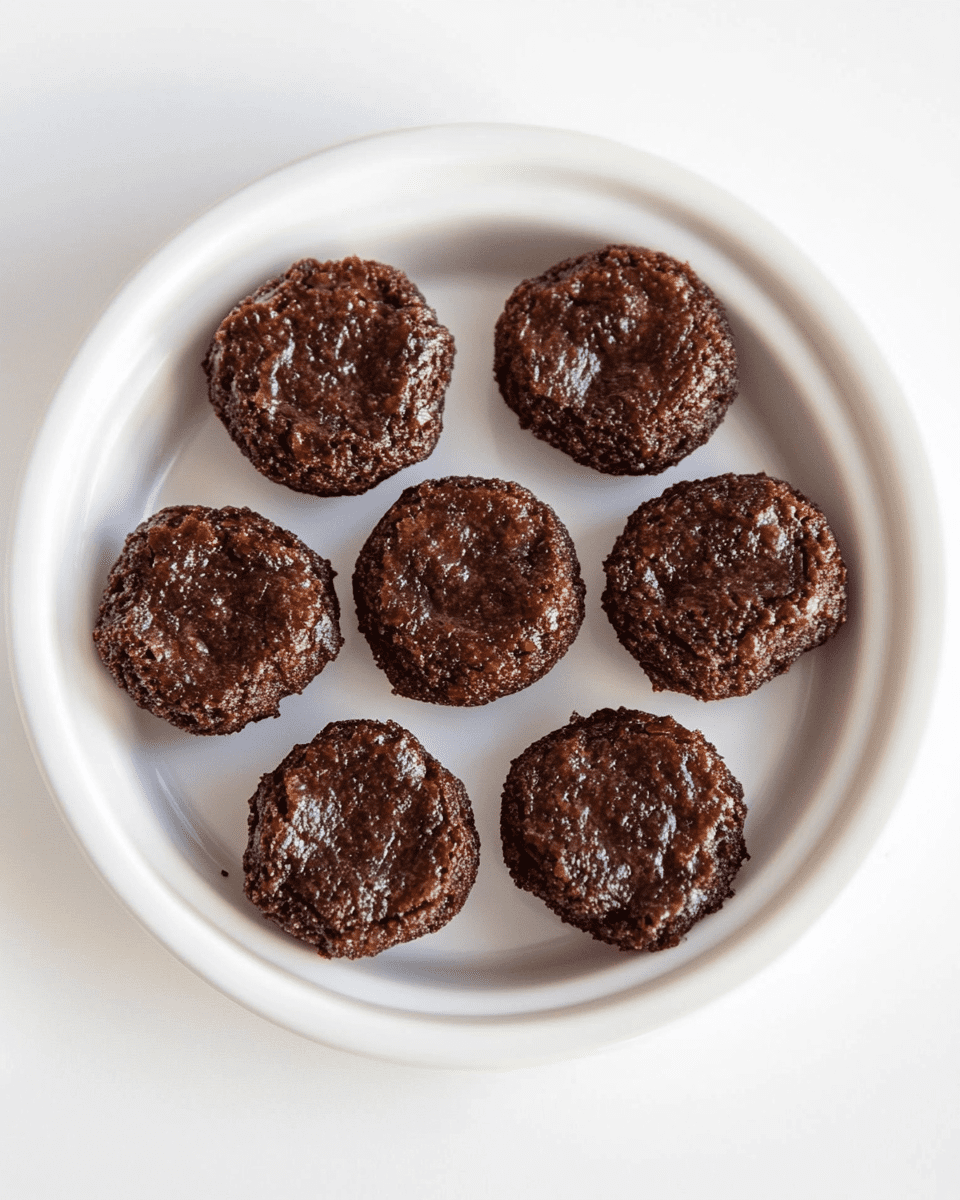
- Fill the muffin tin: Spoon the brownie batter into the prepared mini muffin tin, filling each cup about two-thirds full. This allows room for the brownie bites to rise without overflowing.
- Bake: Place the muffin tin in the preheated oven and bake for about 10-12 minutes. Keep an eye on them; they should look slightly underbaked in the center for that fudgy texture.
- Cool: Once baked, remove the tin from the oven and allow it to cool for a few minutes before transferring the brownie bites to a wire rack to cool completely. This step is crucial to ensure they don’t become too dense.
Tips For Variations:
One of the best aspects of brownie bites is their versatility. You can easily customize them to suit different tastes and preferences. Here are some unique ideas for variations that can enhance flavor, texture, and even cater to budget considerations:
- Nutty Delight: Add 1/2 cup of finely chopped nuts, such as walnuts or pecans, to the batter for an added crunch and nuttiness. This will elevate the texture and add a different dimension to the flavor.
- Swirls of Flavor: Consider swirling in some peanut butter or almond butter before baking. Simply drop spoonfuls of the nut butter into the batter and use a toothpick to create swirls for a tasty contrast.
- Mint Chocolate: For a refreshing twist, incorporate 1/2 teaspoon of peppermint extract into the batter. Top with mint chocolate chips for a delightful minty flavor.
- Fruit Infusion: Add in 1/4 cup of mini marshmallows or dried fruits, such as cherries or cranberries, for an unexpected fruity burst of flavor that pairs beautifully with the chocolate.
- Seasonal Spices: Experiment with spices like cinnamon or a hint of espresso powder to deepen the chocolate flavor. A pinch of cinnamon can add warmth and complexity, while espresso powder enhances the chocolate notes.
- Gluten-Free Option: If you’re looking for a gluten-free version, consider replacing the all-purpose flour with a gluten-free flour blend. Ensure the blend you choose is suitable for baking to achieve the desired texture.
- Budget-Friendly Choices: When it comes to toppings, you can opt for less expensive chocolate chips or even skip them entirely if you’re on a budget. Enhance the experience with a dusting of powdered sugar or a drizzle of homemade frosting made from pantry staples.
Serving Suggestions:
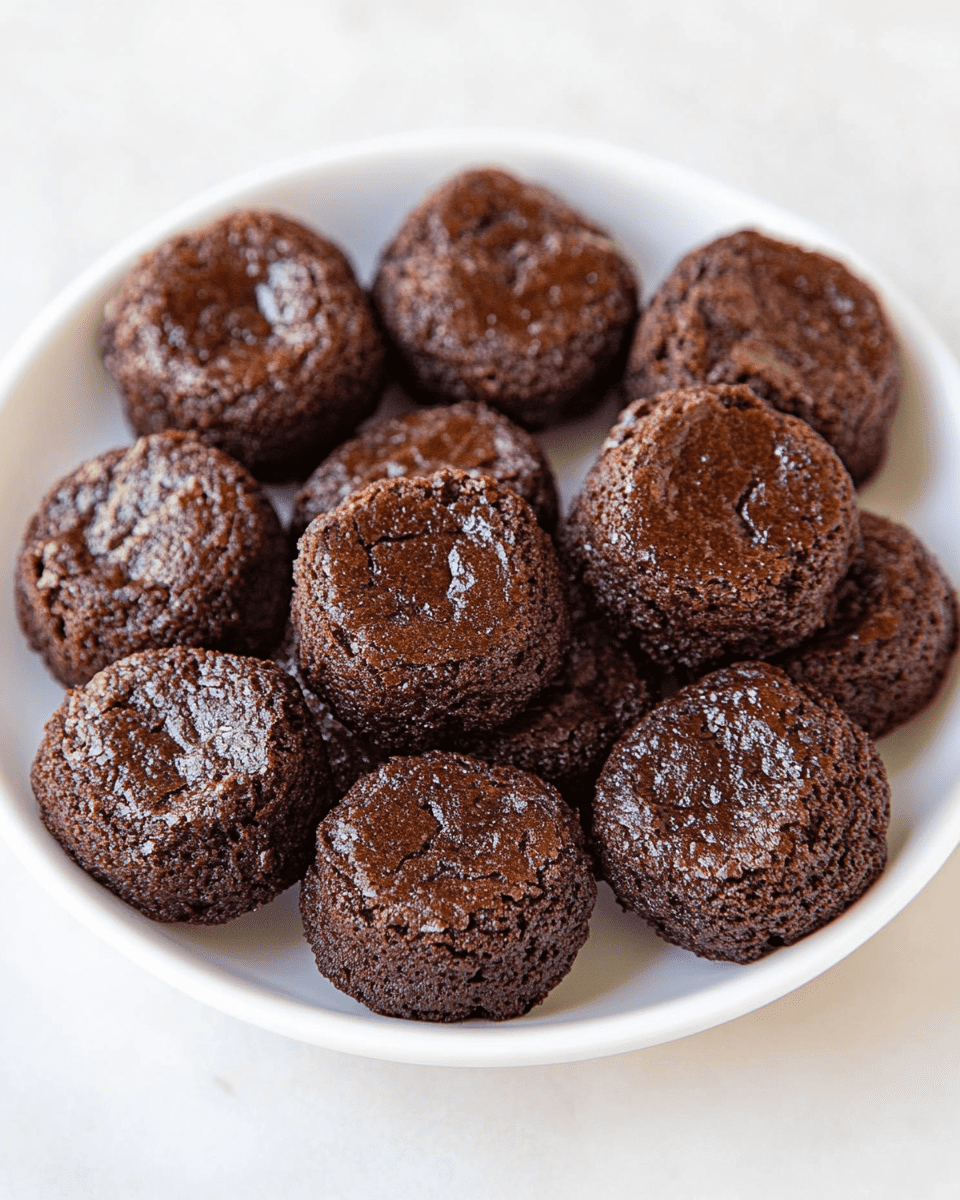
Brownie bites are not just delicious; they are also visually appealing and can be served in a variety of creative ways to make any occasion special. Here are some serving suggestions that will elevate your brownie bites to the next level:
- Plated Desserts: Arrange brownie bites on a decorative platter alongside fresh berries and a dollop of whipped cream or a scoop of ice cream. This presentation not only looks inviting but also adds a refreshing balance to the rich chocolate.
- Brownie Bite Stacks: Create fun brownie bite stacks by layering two or three bites with a spread of frosting or ganache in between. Secure with a toothpick for a playful tower that is sure to impress guests.
- Chocolate Dipped: For an extra treat, dip half of each brownie bite in melted chocolate and let them set on parchment paper. You can also sprinkle them with crushed nuts or sprinkles before the chocolate hardens for an appealing finish.
- Party Favors: Package brownie bites in clear cellophane bags tied with a ribbon for a charming party favor. This is a sweet way to share your homemade treats with guests at birthdays, weddings, or holidays.
- Homemade Treats: Serve brownie bites as part of a dessert bar, alongside other small desserts such as mini cheesecakes, cookies, and fruit tarts. This allows guests to mix and match their favorites.
FAQ:
Can I make brownie bites in advance?
Yes, brownie bites can be made ahead of time. Store them in an airtight container at room temperature for up to three days or in the refrigerator for up to a week. They also freeze well; just wrap them tightly in plastic wrap and place them in a freezer-safe bag.
Can I use a different type of chocolate?
Absolutely! You can use dark chocolate or milk chocolate chips instead of semi-sweet. Adjust the sweetness if necessary, depending on the type of chocolate you choose.
How do I prevent brownie bites from sticking to the pan?
Greasing the pan thoroughly or using liners will help prevent sticking. Additionally, allowing the brownie bites to cool slightly before removing them from the pan will make the process easier.
What can I do with leftover brownie bites?
Leftover brownie bites can be crumbled over ice cream for a delicious sundae topping, used as a base for a trifle, or simply enjoyed as a snack throughout the week.
Can I make these brownie bites dairy-free?
Yes, you can substitute the butter with a dairy-free alternative such as coconut oil or a plant-based butter substitute. Ensure that the chocolate chips you use are also dairy-free.